


Article: Baby Coat
Baby Coat
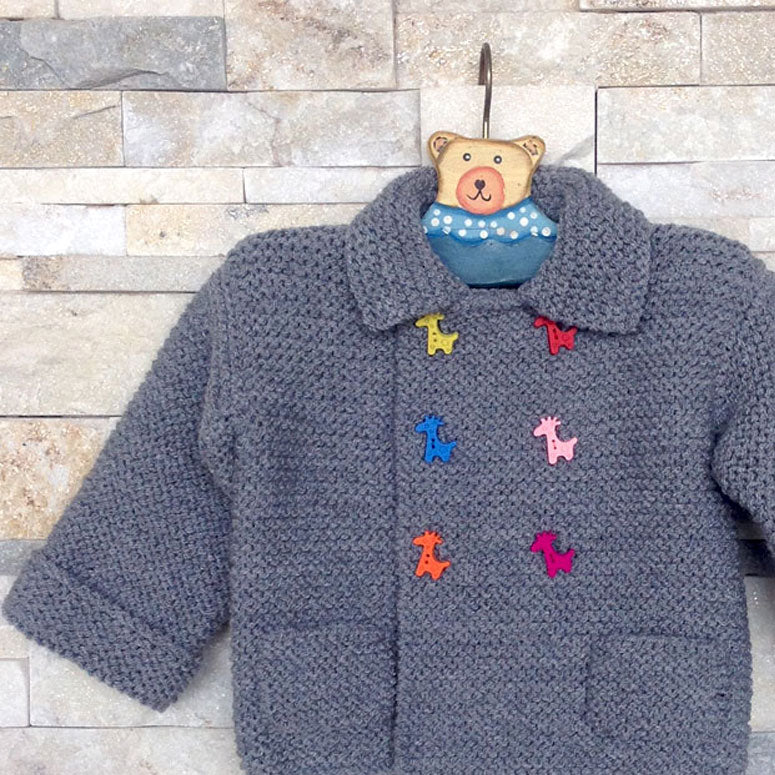
Today we propose a very warm project: a baby coat. It's a perfect garment to enjoy a sunny winter morning. You can also customize it with fun buttons and make it in your favorite color. We hope you enjoy every stitch!
YOU WILL NEED:

For size 6 months
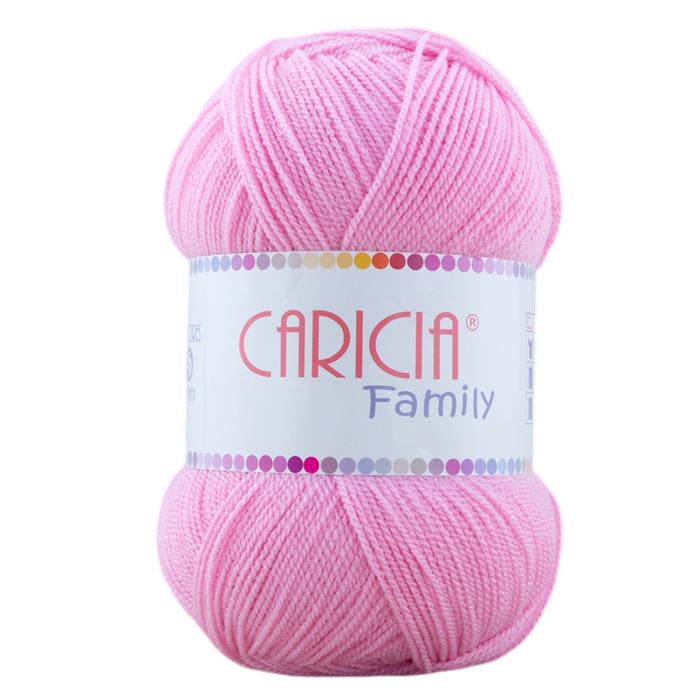
- Caricia Family Yarn, Grey, Nº 052 (you can make it in any other color of this quality), 2 balls.
- Knitting needles Nº 5.
- Tapestry needle.
- 6 wooden buttons of different colors.
GAUGE:
- In garter stitch: 10 x 10 cm = 16 sts x 32 rows.
STITCHES USED:
Garter stitch. (See tutorial garter stitch)
HOW TO MAKE THE COAT?
Back

To make this project, we will use double yarn, using two strands of Caricia Family yarn. Cast on 48 stitches (28 cm wide) and knit in garter stitch until the piece measures 19 cm (29 rows). Armholes In the 29th row, start shaping the armholes as follows:
- Bind off 1 stitch on both sides, 2 times (1 stitch in each row).
To bind off these stitches, we recommend doing it like this: Work the first 2 stitches and then knit the next 2 stitches together*. Continue for 17 more rows in garter stitch (11 cm from the armhole) and begin binding off the shoulder. Shoulders
- Bind off 6 stitches on both sides once and in the next row, bind off 7 stitches on both sides once.
Neckline In the next row, bind off all remaining stitches in the same row.
Left Front

Cast on 33 stitches (19 cm wide) and knit in garter stitch until the 19th row. Buttonholes 19th row, work as follows: *knit 3 stitches, bind off 1 stitch*, *work 10 stitches, bind off 1 stitch*. Continue until the end of the row. In the next row, when you reach the point where you decreased 1 stitch and in each buttonhole you made, yarn over (this way, you recover the stitch you bound off) and continue working until the end of the row. (see tutorial: Buttonholes) Continue working in garter stitch for 9 rows, and in the 28th row, make two more buttonholes in the same way, knit 9 more rows, and in the 37th row, make two more buttonholes. We make a total of 6 buttonholes. Armhole In the 29th row (19 cm in length), from the beginning of the work, shape the armhole.
- Bind off 1 stitch 2 times (1 stitch in each row) and continue working in garter stitch.
Neckline In the 43rd row (27 cm in length), from the beginning of the work, we shape the neckline: Binding off at the beginning of the row:
- 12 stitches in the 1st row, in the next row, 3 stitches once, and in the next 3 rows, bind off 1 stitch in each row.
Shoulder Bind off 6 stitches once and in the next row the remaining 7 stitches. Leave a long tail for sewing.
Right Front

Cast on 33 stitches and work the same as the left front but without making buttonholes. We will make the armhole and neckline on the opposite side of the left front, so that both parts face each other. Armhole In the 29th row (19 cm in length), we make the armhole:
- Bind off 1 stitch 2 times (1 stitch in each row) and continue working in garter stitch.
Neckline Work the same as the left front. Shoulder
- Bind off 6 stitches once and in the next row bind off the remaining 7 stitches. Leave a long tail for sewing.
Sleeves (Make 2)

For the sleeve: Cast on 33 stitches and knit in garter stitch. Every 20 rows, increase 1 stitch on both sides a total of 3 times. From the 39th row, bind off 1 stitch on both sides, 4 times. In the 44th row, bind off all stitches. Leave a long tail for sewing.
Pockets (Make 2)

For the pocket: Cast on 13 stitches (8 cm wide) and knit in garter stitch 18 rows (6 cm long). Bind off all stitches and leave a long tail for sewing.
Collar

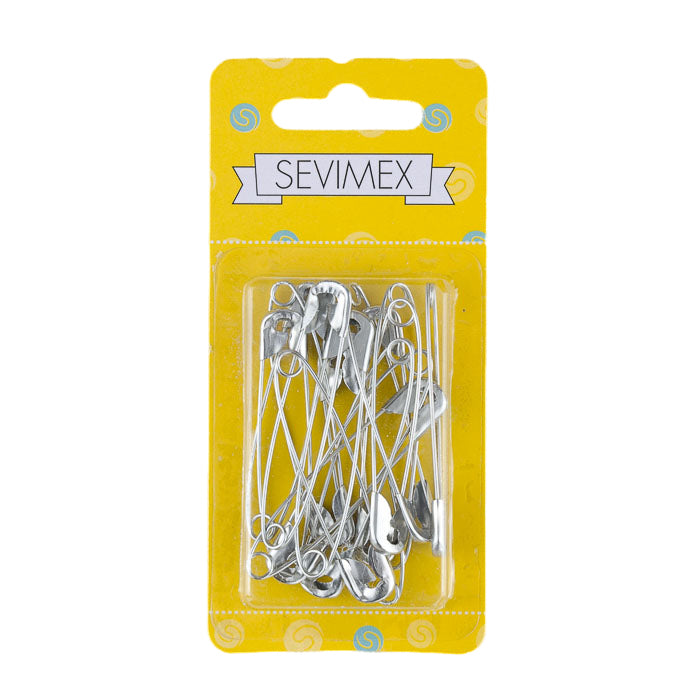
To knit the collar, first sew the shoulders, lay one front over the other and calculate the start of the collar on both fronts, marking it with two safety pins, one on each front. With the knitting needle, pick up stitch by stitch, taking the first safety pin as the starting point and the second safety pin as the last point (we get a total of 44 stitches). Continue working in garter stitch. In the 2nd row, increase 1 stitch on both sides, and continue knitting in garter stitch for 20 rows. Bind off all stitches.
ASSEMBLY AND FINISHING:

See the diagram. We will make the seams on the right side of the work. (See tutorial: Seams) Sew the two fronts to the back. Fold each sleeve lengthwise, position it correctly and sew it into the armhole opening between the front and back. Turn up the bottom of the sleeve, it will give it a more informal touch and last for a few more seasons. Sew the pockets to the bottom of each front. Now all that's left is to sew on the buttons and fasten them.

Go ahead and knit one! The result is a beautiful, warm, and cheerful little coat to take your baby out for a stroll.