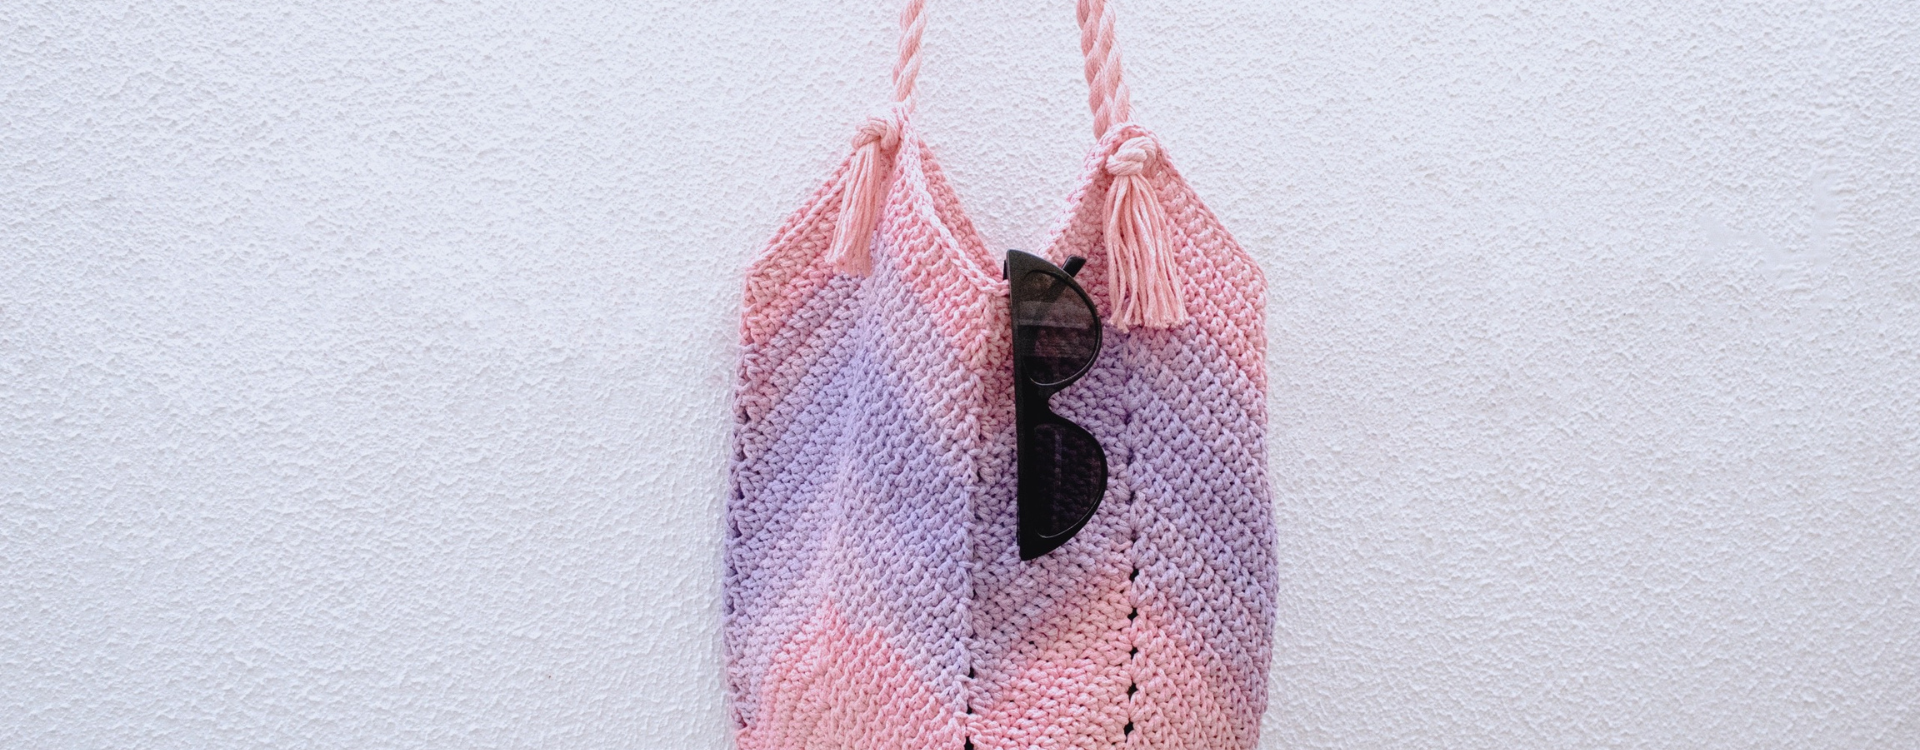
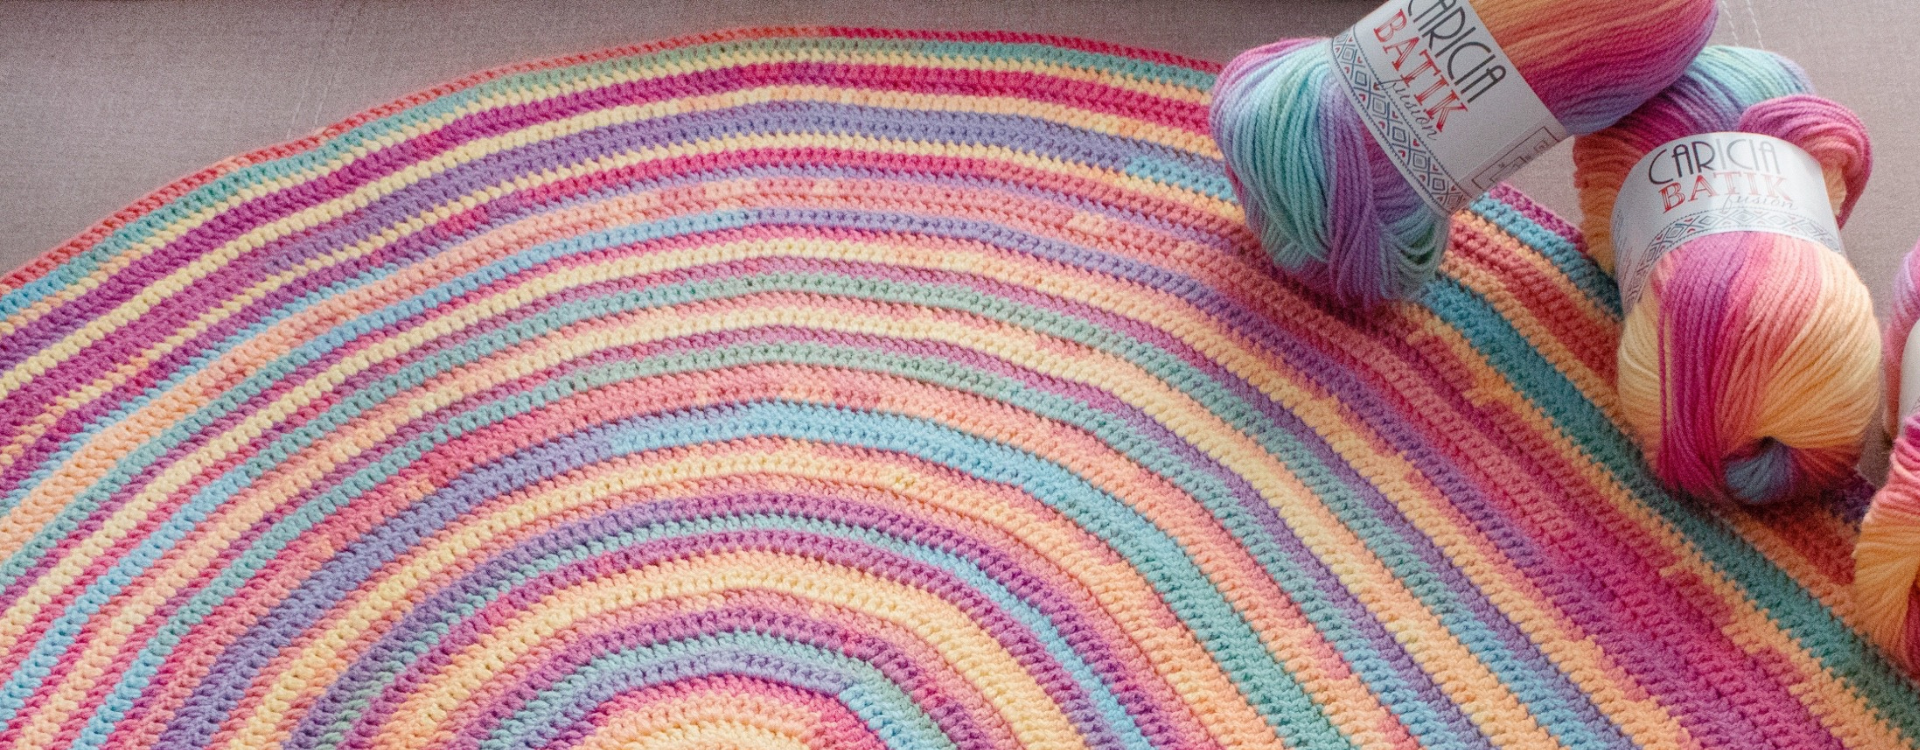
A short time ago, we introduced our most colorful quality and one of this year's novelties: Caricia Arcoíris. This quality is perfect for knitting colorful fashion accessories to end the summer on a high note.
What better accessory than a bag?
YOU WILL NEED
Yarn: Caricia Arcoíris Color 007 (2 units).
Hook: 4.5mm
Stitch markers

HOW TO MAKE THE RAINBOW BAG?
STITCHES USED
ch: chain stitch
sl st: slip stitch
dc: double crochet
dec: decrease
CLARIFICATIONS
- Measurements: width 35cm, height 38cm, handle 30cm.
- The entire project is made in one piece without cutting the yarn, distinguishing two parts. The base, where we will make a square, and when we have the desired width, we continue making the body. The handles will be made separately.
- The color change you see is a result of the same yarn ball. For color continuity, the first ball is started from the outer strand and the second ball from the inner strand.
- The entire project consists of double crochets and chain stitches, following the pattern charts.
- Each row begins with 3ch which count as the 1st double crochet.
- The measurements are as shown, but if you want to modify them, simply make more or less of the chart (if you want to use the same yarn) or use different material and hook.
PATTERN
Base
We will make a square as indicated in chart 1, starting with a magic ring and a first round of 4 groups of 3dc each, separated by 2ch.
Continue round by round following chart 1 until you reach the desired width. In this pattern, the base has a width of 24cm, for which a total of 8 rounds of chart 1 are made. Do not cut the yarn.
*Important: the stitches remaining on each side of the "square" must be an odd number. For this measurement, we have 31 stitches on each side.
We will place a marker in the middle stitch of each side, i.e., in the 16th stitch, thus having 15 stitches on each side of the marked stitch. We do this step on each side, so we will have 4 markers around the square. It is important to pay attention to the position of the markers because that is where the decreases for the "body" will be made, while the increases will be made at the corners of the base square.
Body
Once the base is prepared with its corresponding markers, we proceed to make chart 2.
We begin with round 1, making the corresponding increase at the corner of the square, and when we reach the stitch where we have the marker, we skip the previous stitch, the marked stitch, and the next stitch. That is, we skip 3 stitches and continue crocheting double crochets over each stitch of the previous round (without separating chains or anything) until we reach the next corner where we will continue to make increases as indicated in the chart.
Round 2: we make the increases at the corner as before, and when we reach the center (where we had skipped 3 stitches in the previous round) we make two consecutive decreases (without separating chains or anything) but leaving two unworked double crochets from the previous round in between.
Round 3: we make the increases at the corner as before, and when we reach the center (where we had left 2 unworked stitches in the previous round and now have two central decreases) we make two consecutive decreases (without separating chains or anything) but leaving the two decreases from the previous round unworked in between.
This round 3 will be repeated as many times as necessary to achieve the desired height; in this pattern, for a height of 38cm, we have made 14 rounds.
Although chart 2 shows straight sides, as we crochet rounds, they will take on a "zigzag" shape.
We finish the body with a final round of slip stitches.
Finishing
Cut the yarn and hide all ends.
For the handles, you can choose the system you like best, whether they are textile, crocheted, or cord, as in this case.
To make the cord, you need to cut 10 strands of yarn 100cm long and start twisting them in the same direction. When they are very twisted, you will notice that when you fold them, they start to twist on their own in the opposite direction from which you are twisting them. Once you reach this point, take the cord by the middle and let it twist on itself to form the main cord. Insert each of the sides through the gaps formed by the increases in the body of the bag, knot the side with the loose ends, and cut and knot the side of the middle of the cord. Repeat this process to form the other handle, and you're done!

FINAL RESULT


