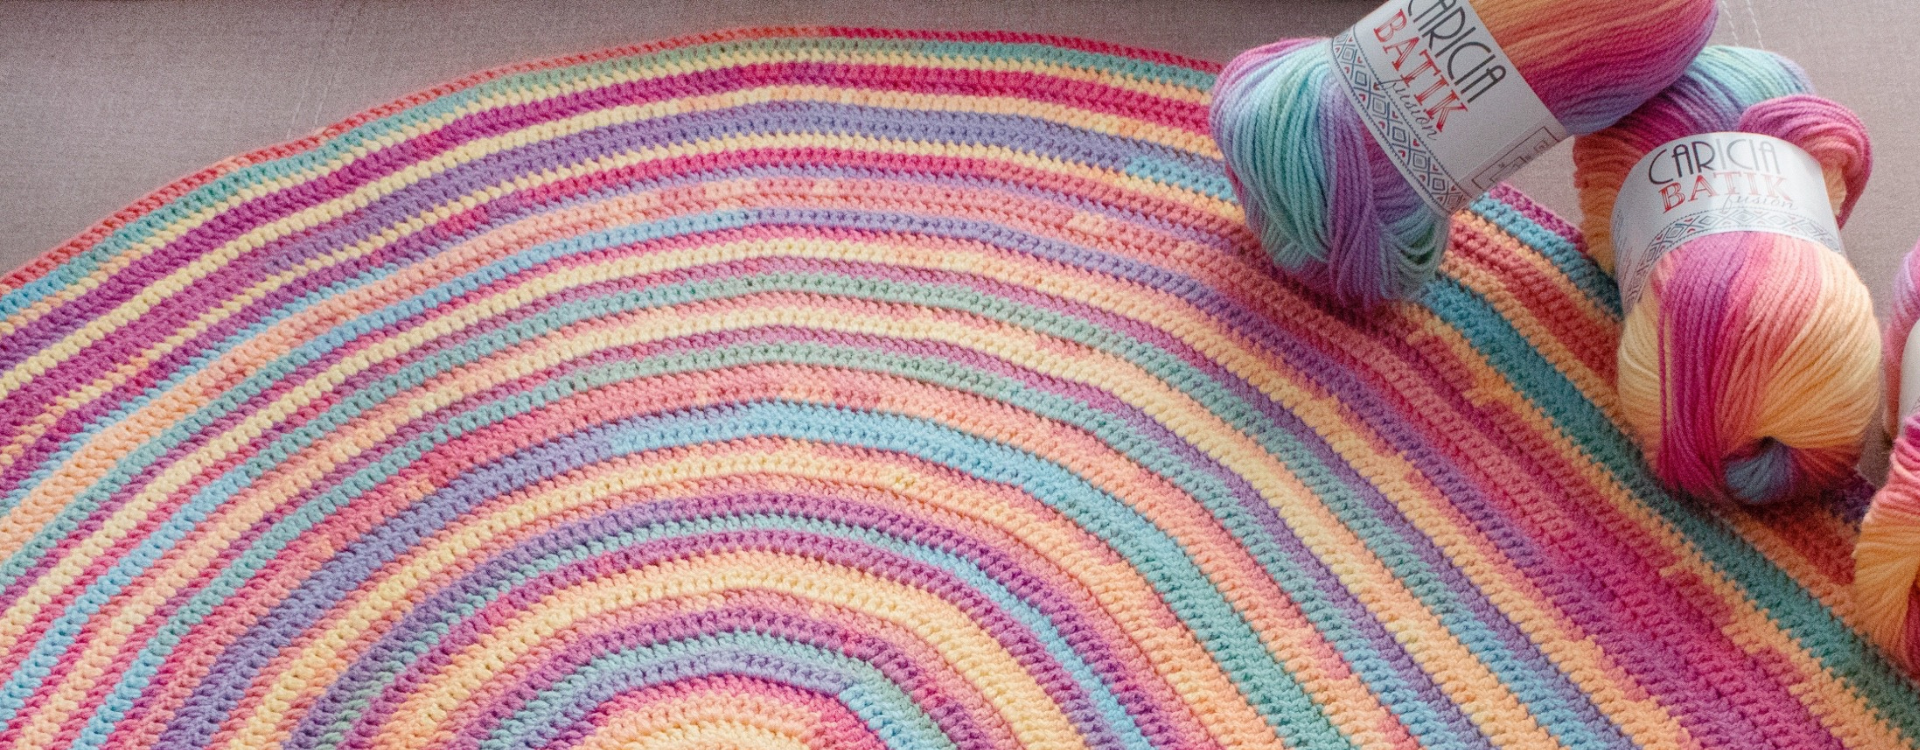
For lovers of mid-season weather and the upcoming season, we bring you a new project perfect for enjoying evenings with a movie and a blanket. It won't be long now! It's called the Rainbow Baby Blanket, it's crocheted with Caricia Batik and thanks to its vibrant colors, it will give your living room a super cheerful touch. Place it on the bed, the sofa, or your favorite armchair and enjoy!
YOU WILL NEED
3 balls of Caricia Batik Fusión Color 204
3mm hook

HOW TO MAKE THE RAINBOW BABY BLANKET?
STITCHES USED
ch: chain
sl st: slip stitch
dc: double crochet
inc: increase
CLARIFICATIONS
- Measurements: width 90cm, height 75cm.
- The entire project is made in one piece without cutting the yarn, starting in the center of the rainbow and growing in rows or rounds that are always turned at the end of each one.
- Each row begins with 3 ch that always count as the 1st double crochet.
- The measurements shown are standard, but if you want to modify them, just make more or fewer rows.
PATTERN
Start by making a chain of 40 ch.
R1. 3 ch (1st dc), 39 dc. In the last ch, make 6 dc together and turn, working around the chain, making another 40 dc.
R2. 40 dc - 6 inc - 40 dc.
R3. 40 dc - (1 dc - 1 inc)x6 - 40 dc - fringe*
R4. 40 dc - (2 dc - 1 inc)x6 - 40 dc - fringe*
R5. 40 dc - (3 dc - 1 inc)x6 - 40 dc - fringe*
- Continue repeating this series of increases (4 dc - 1 inc, 5 dc - 1 inc…) in the center of the rainbow until you have 45 rows in total and are making 40 dc - (43 dc - 1 inc)x6 - 40 dc - fringe*
- Remember that the 1st stitch of each row is always 3 ch, meaning you would need to make 3 ch + 39 dc.
*To create the decorative fringes at the end of each row, which are made using the coiled cord technique, you will need to do the following: as soon as you finish the last dc of the row, stretch the yarn to a length of approximately 20cm from the hook to the project, and coil it upon itself about 20-25 times, turn the project, and make a sl st at the base of the cord, and you will see it automatically coil back upon itself. Then begin the 3 ch for the start of the next row. It is important that for all the fringes to be uniform, the length to which you stretch the yarn (in this case, 20cm) must always be the same.
FINAL RESULT


