


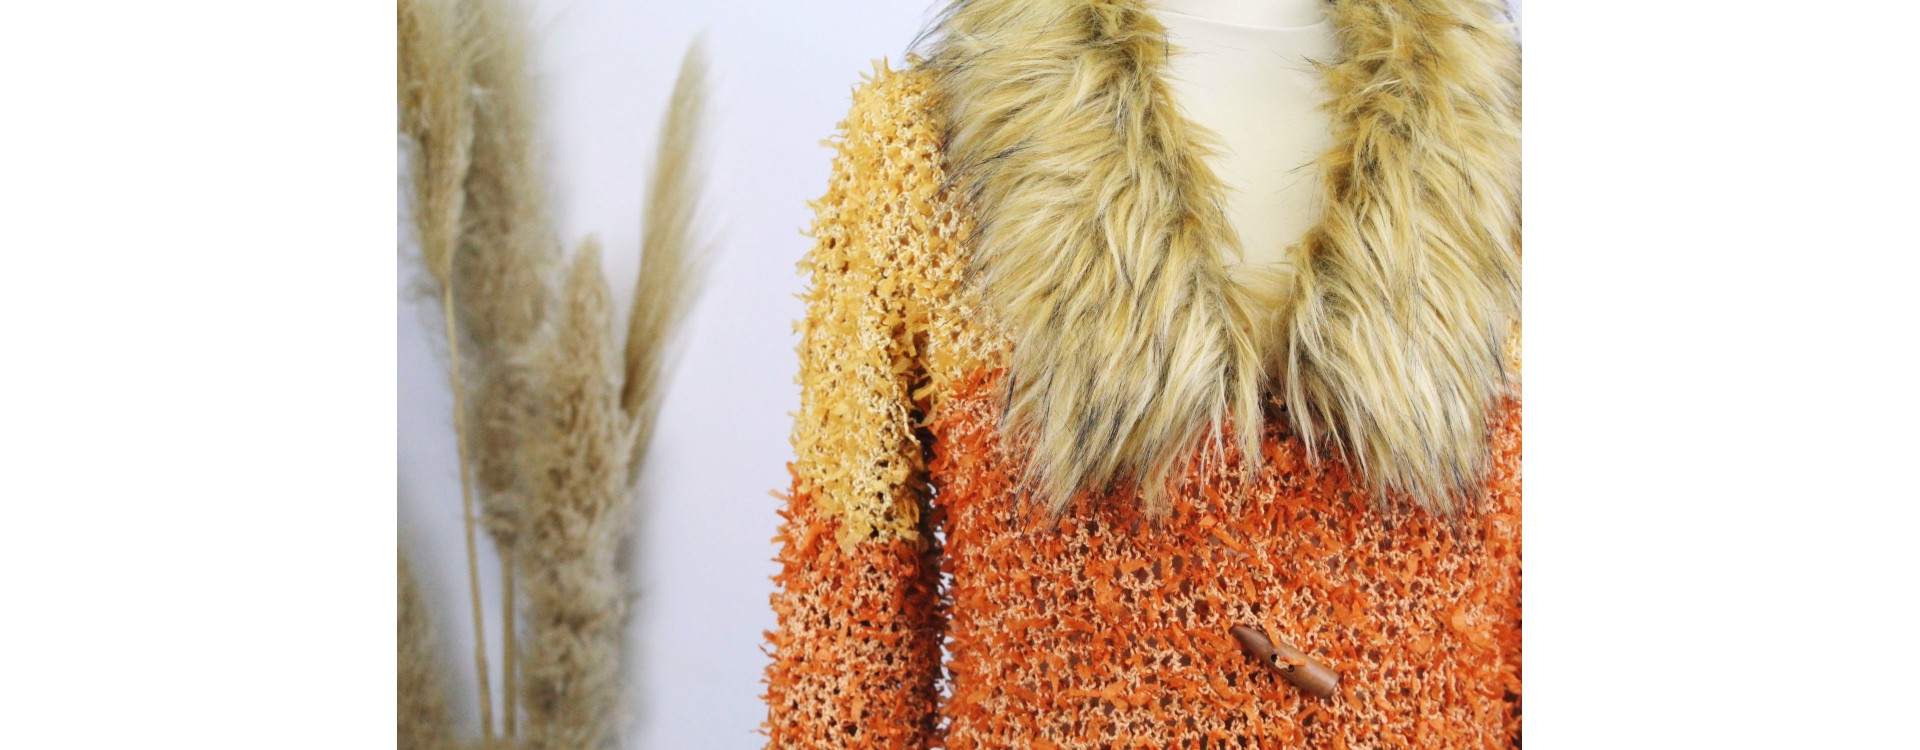
Autumn Cardigan
Albita de Plata shows us how to crochet this beautiful Autumn Cardigan combining Caricia Mariposa colors.
MATERIALS:
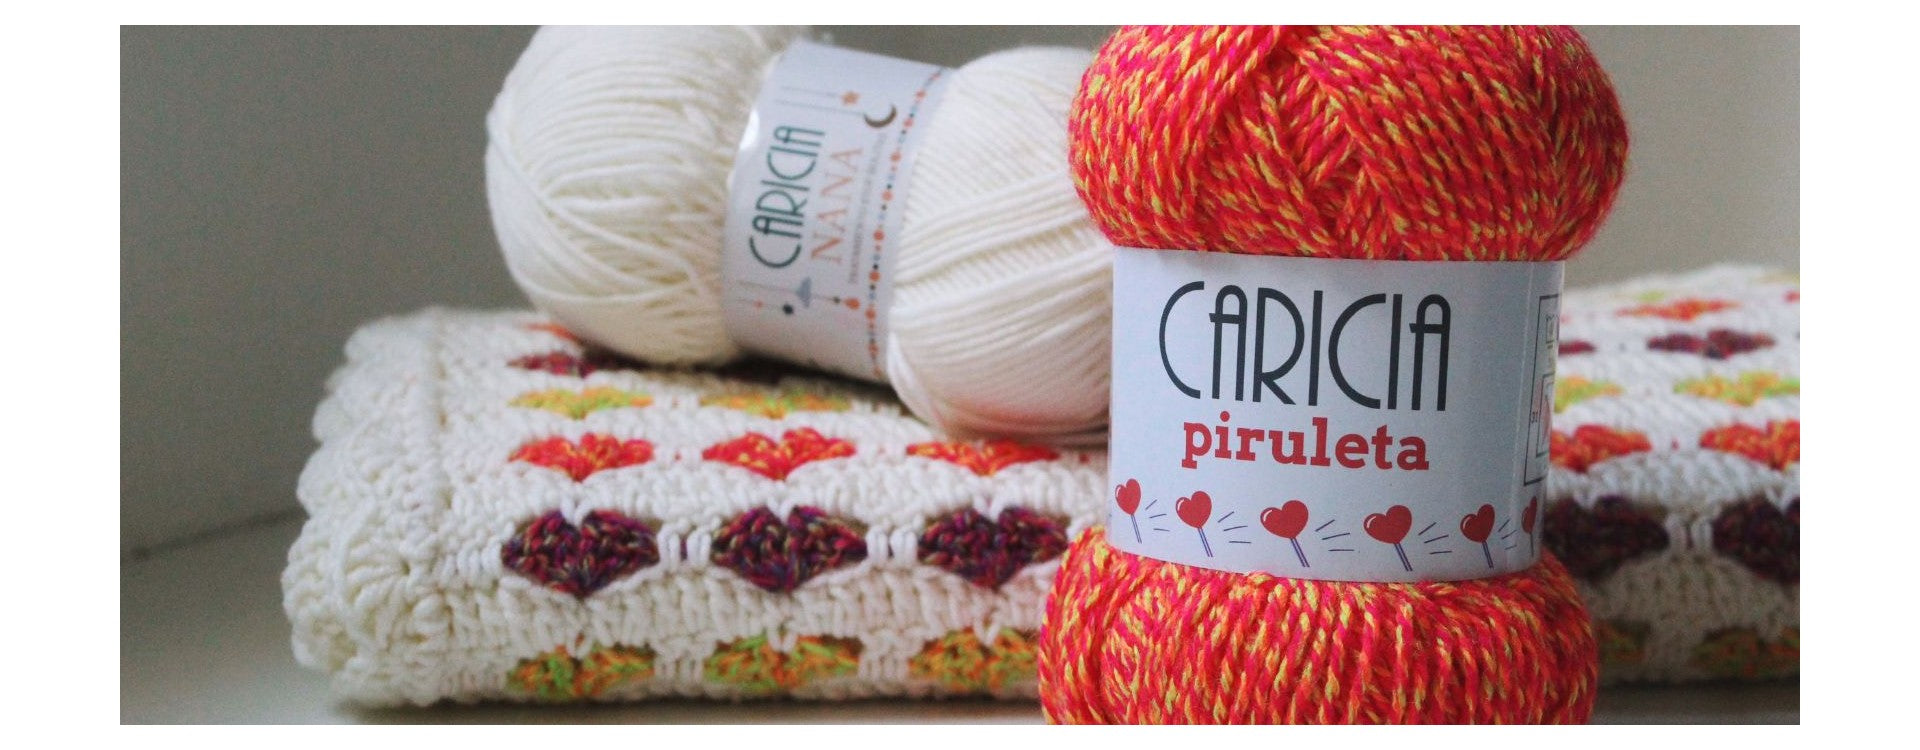
Fiber: Caricia Mariposa, colors: 103, 104, 105 (3 balls of each)
Hook: 6.5mm
Tapestry needle and stitch markers.
Buttons and faux fur collar (optional)

STITCHES USED:
ch: chain
sl st: slip stitch
sc: single crochet
CLARIFICATIONS:
- In this pattern, we will make 5 pieces in total: the back, two front panels, and two sleeves. We will join the back and front panels at the sides, leaving a gap for the sleeves, and at the shoulders, leaving space for the neck. Once these three pieces are joined, we will crochet the sleeves onto the already joined piece.
- The project is crocheted in a size S, but I've provided measurements so you can adapt it to other sizes.
- With this fancy yarn, you need to be careful with stitch counting, as they are not as easily visible as with a plain yarn. Therefore, it is preferable to crochet with a large hook and keep the stitches loose; it will be easier to identify them.
- Throughout the project, whenever a round or row begins with 1sc, we will make a chain that will NOT count as the 1st stitch of the round.
MEASUREMENTS:
Here are some approximate measurements according to standard sizes. However, you can measure a cardigan that fits you perfectly and adjust the measurements accordingly.
A=length / B=width / C=armhole / D=sleeve length (from armpit)
SIZE S: A 55cm - B 44cm - C 18cm - D 44cm (these are the measurements for this pattern)
SIZE M: A 62cm - B 48cm - C 20cm - D 44cm
SIZE L: A 68cm - B 52cm - C 22cm - D 46cm
SIZE XL: A 72cm - B 60cm - C 24cm - D 48cm
PATTERN:
Back piece:
(color 103)
50 ch
R1 to R20 - 50sc
(color 105)
R21 to R40 - 50sc
(color 104)
R41 to R60 - 50sc
Cut and fasten off yarn.
Front piece (x2):
(color 103)
22 ch
R1 to R20 - 22sc
(color 105)
R21 to R40 - 22sc
(color 104)
R41 to R60 - 22sc
Cut and fasten off yarn.
With slip stitches, join the two front pieces to the back at the shoulders, leaving 6 unjoined stitches in the middle for the neck opening.
Also, sew the sides, leaving the armhole free for the sleeve as indicated by your size; in my case, 18cm.
Sleeves (x2):
Over the open space we left, join the yarn at the armpit and begin crocheting the sleeves. We will turn the work with each sleeve round, closing it with a sl st and making 1ch in the next round, so that the stitches are right side up in one round and wrong side up in the next, just like in the back and front pieces. You can use stitch markers to know the beginning of each round.
(color 103)
R1 to R10 - 40sc
(color 105)
R11 to R30 - 40sc
(color 104)
R31 to R50 - 40sc
Cut and fasten off yarn.
Weave in all remaining yarn ends with a tapestry needle, and you're done. Optionally, you can add buttons; you don't need to make buttonholes as the stitches are loose and work perfectly for attaching the buttons.
You can also add a faux fur collar to give your cardigan a different and personalized touch, or leave the collar as is.
FINAL RESULT:


%0AHook:%206.5mm%0ATap...)