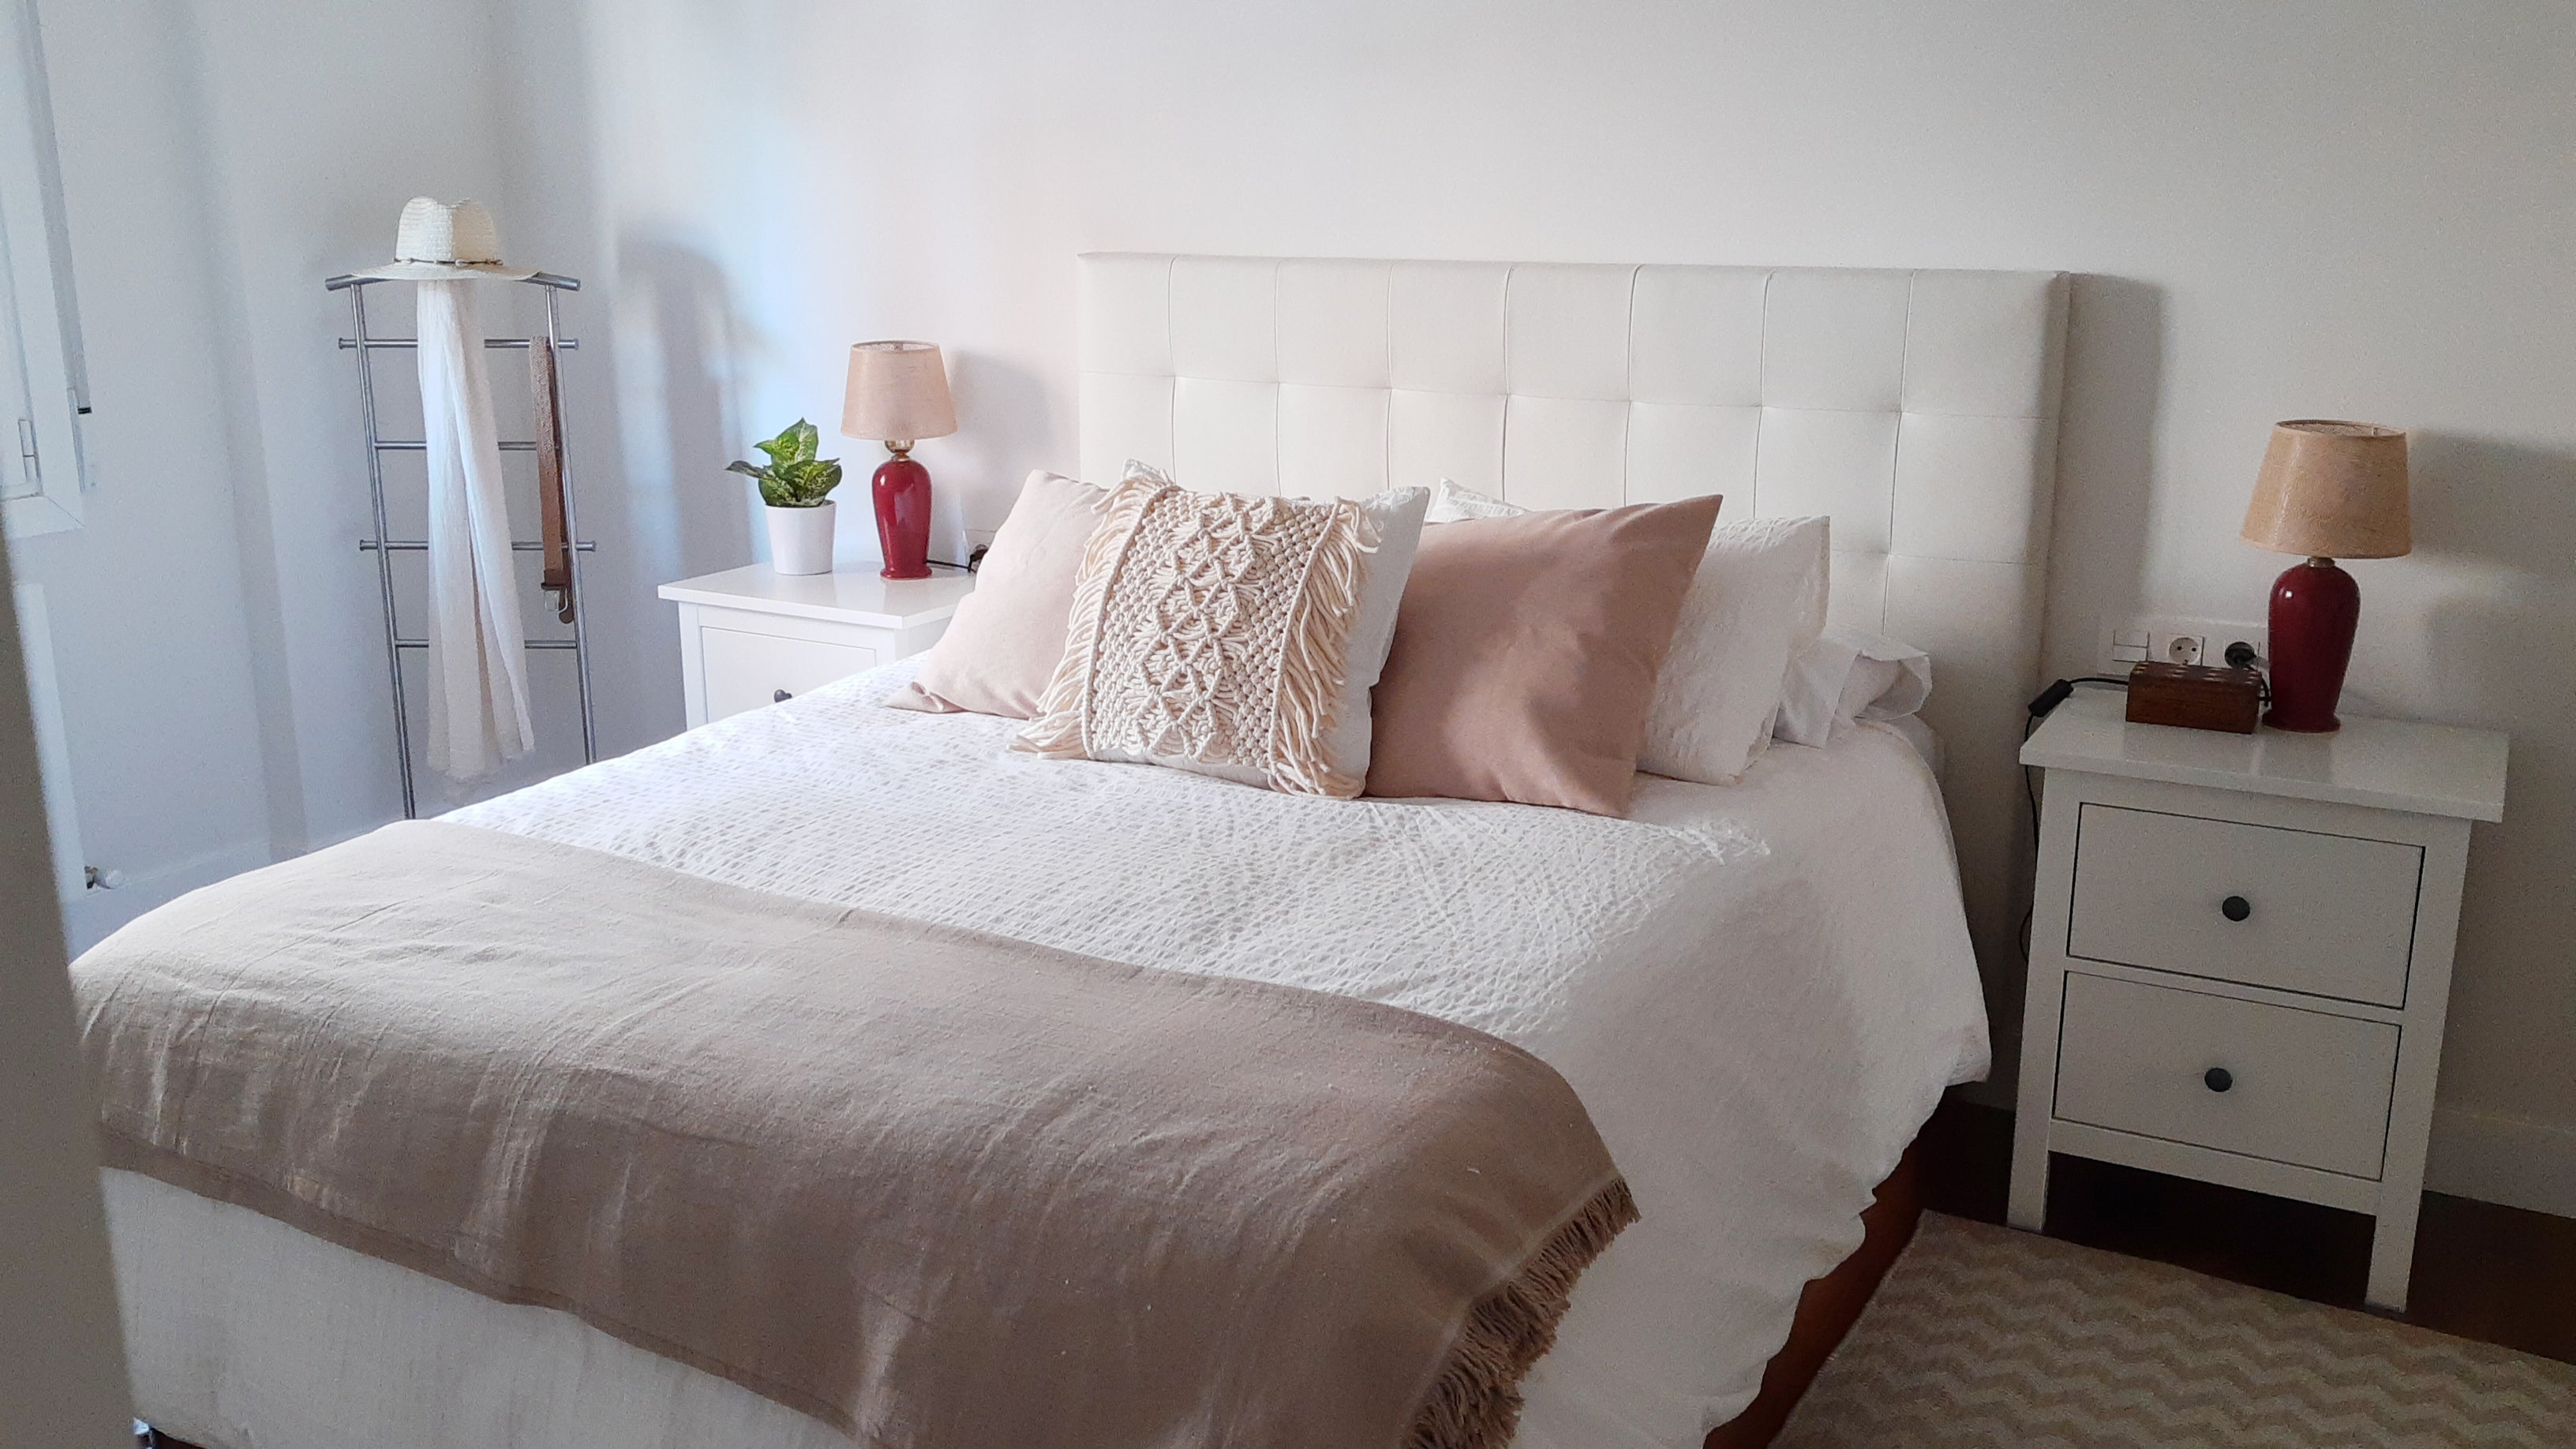
We are already preparing our home for this autumn and, to create warm and comfortable spaces, original cushions like this one from Felina Creativa are a must. Do you want to weave your own version? Get your Caricia Guata ready!
YOU WILL NEED:
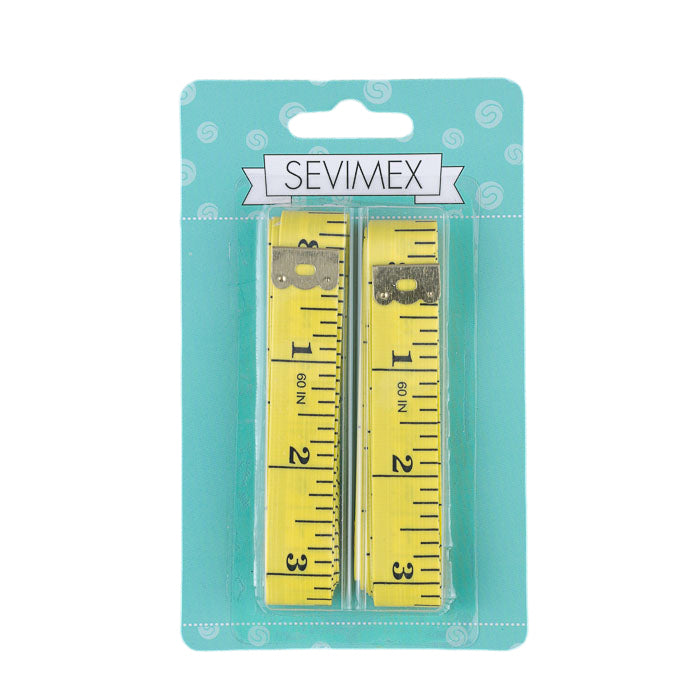
2 balls of Caricia Guata -> 30 cords of 2.90 meters and 2 cords of 1.30 meters Scissors Measuring tape Hanger to hold the work You can purchase the materials through the links to our online store that appear above in the list.

HOW TO MAKE THE SIOUX CUSHION?
- Make 30 larks head knots directly on the bar of a hanger (they will be cut in the final step). This gives a width of approximately 40 cm.


2. 2 cm from the larks head knots, add a row of horizontal half hitch knots with one of the 2 shorter cords as a guide. To make the first knot simpler, tie one end of the guide cord to the bar (trying to make sure the half hitch knots are centered on the cord and what is left on each side is the same length). Keep in mind that this guide will not be part of the knotting threads afterwards, but the ends will serve to tie the project to the cushion.

3. Make 5 rows of alternating square knots. There are 15 knots in rows 1, 3, and 5, and 14 knots in alternating rows 2 and 4.

4. Then divide the cords into 5 groups of 12 strands to make the peaks. In each group, tie a row with 2 square knots and then a row with 1 square knot, leaving the ends untied to form a downward peak.


5. Using the guide threads of the square knots of each peak as guides, make 2 rows of diagonal half hitches in each of the 5 groups. There will be 5 half hitch knots for each side.

6. To join each group of peaks, make a square knot at the intersections where the diagonal half hitch rows end.

7. Then we will complete each group by closing the diamond design with a central square knot.


To do this, first make the square knot using the 4 central threads of each group and knotting at the height of the square knots we made at the intersections. Then make a downward peak with 2 diagonal rows of 5 half hitches (the same as before but in the reverse direction) to form the diamond and close it with a square knot. You will have a total of 5 diamonds, one for each group of threads. As before, we use the guide threads of the square knots at the intersections as guides for the half hitches. Except at the ends of the cushion where there is no square knot and the first thread of the project at the left end of the first diamond is used as a guide, and the last thread of the row for the right end of the last diamond.

8. Repeat steps 5 and 6 making diagonal half hitches using the guide threads of the square knots we have in the work. There will be 4 central diamonds and half a diamond at the ends.

9. Then repeat step 7 to create 5 diamonds with a square knot in the center again. 10. From the square knot of each intersection of the 5 diamonds, we will create a row with 2 alternating square knots and then another with 3. The same as the initial triangle but increasing knots per row instead of decreasing them.


11. By making this row of 3 square knots in each group of strands, we will be creating a complete row of square knots across the project. We need to make 4 more rows of alternating square knots.

12. Finish the design with a row of horizontal half hitch knots, adding the cord we had cut and had yet to use as a guide. 13. Finally, we can cut the larks head knots from the hanger bar and the fringes from both ends to match the desired length.

14. Tie the design onto a cushion using the cords that served as guides for the horizontal half hitch rows.

FINAL RESULT


