


8 ways to join crochet squares: step-by-step techniques
Today we want to share with you 8 ways to join crochet squares so that your projects have a perfect finish!
Because if you're here, you probably already know that joining crochet squares, or as we usually call them, "granny squares," requires a lot of care, so the more options you know for doing it, the better!
Do you know these 8 ways to join crochet squares? Write them all down and choose your favorite
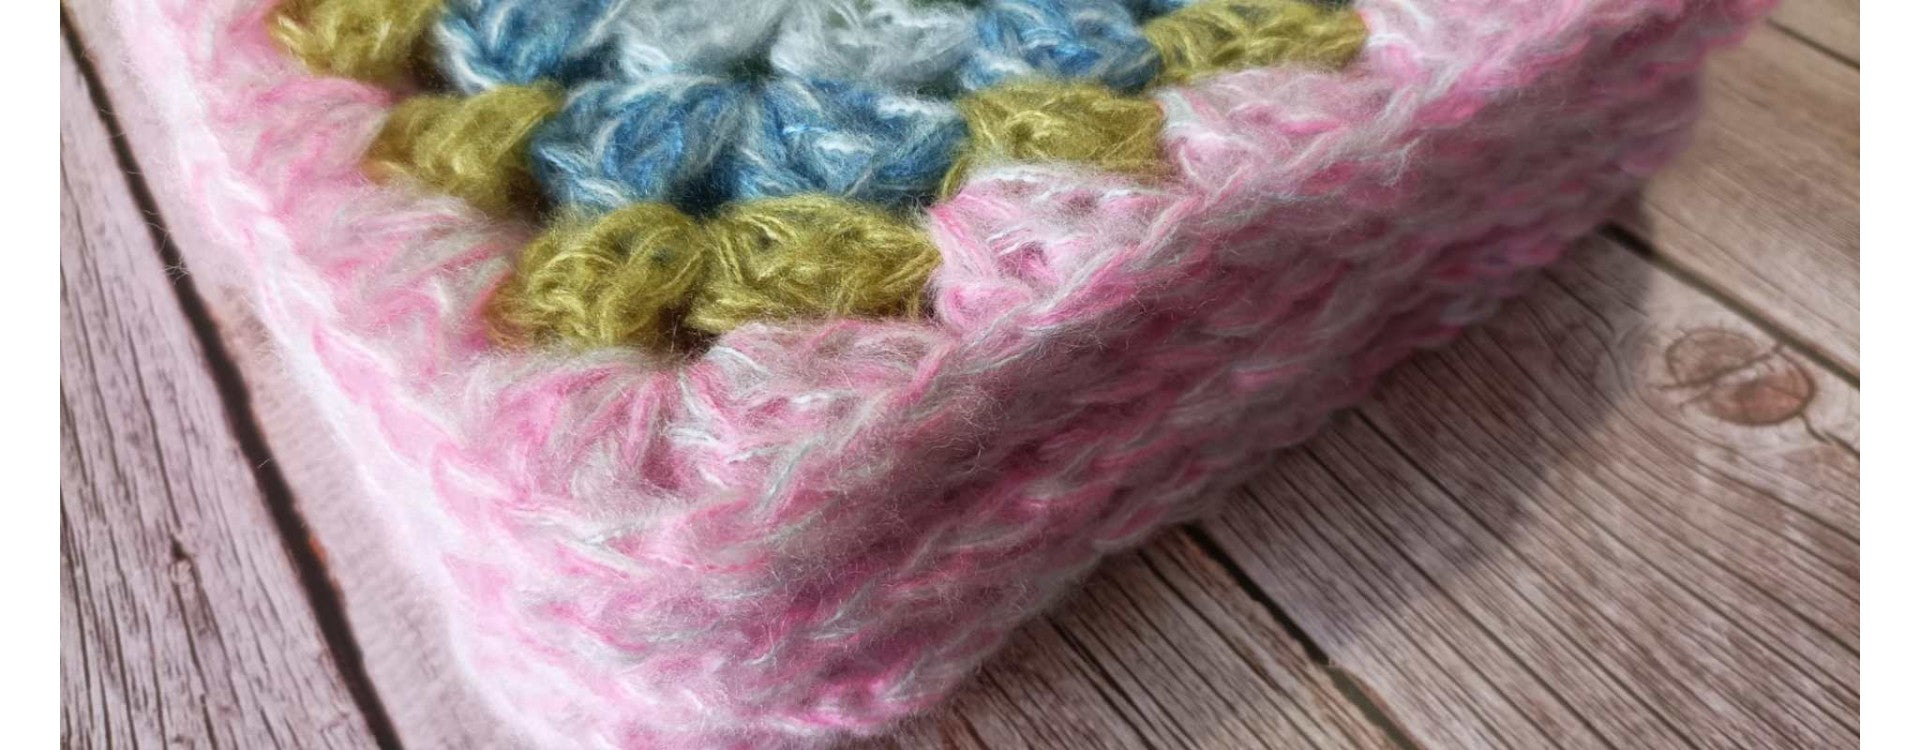
These small crochet squares can be turned into blankets, cushions, and even garments, but if there's one thing all these creations have in common, it's the importance of knowing how to correctly join each granny square so that the union between them all is impeccable.
Below, we detail each of these 8 techniques, from the simplest to the most elaborate, so you can choose the one that best suits what you want to make.

Slip stitch join
This is one of the easiest. If you have little time or want something quick, the slip stitch join is perfect.
All you have to do is place the squares right sides facing each other. Then, with your hook, you slip a stitch through the edges of the two squares. It's super fast! And the seam is as firm as it is subtle.
Step by step
- Place two squares with right sides facing each other.
- Insert the hook into the corners of both squares.
- Make a slip stitch, passing the hook through both edges and joining the squares.
- Repeat this process along the sides until the join is complete.
We recommend the first of these 8 ways to join crochet squares for blankets or cushions.
Tapestry needle join
This is a classic for those who prefer to sew.
With a tapestry needle and yarn of the same color as your squares, you just need to sew along the edges. You can use an invisible stitch or the classic whip stitch. The best part? It creates a super clean and almost imperceptible join.
Step by step
- Use a tapestry needle and a piece of yarn in the same color as the squares.
- Place the squares side by side and sew using the whip stitch or an invisible stitch.
- Make even stitches to ensure a neat, flat join.
It works very well for sweaters or scarves, where a soft seam is essential. No one will notice where you joined your granny squares!
Zigzag stitch
If you're looking for a more fun and decorative touch, we recommend trying the zigzag stitch.
What does the third of these 8 ways to join crochet squares consist of? Joining the squares by passing the yarn from one square to the other in a zigzag pattern.
Step by step
- Place the squares side by side.
- With new yarn, start at a corner and work in a zigzag pattern, alternating between the squares.
- Continue until the join is complete.
It's ideal if you want the joins to stand out a bit more or play a starring role in the design.

Crab stitch join
This is a favorite because it achieves a more structured finish.
It's done as if you were crocheting single crochet stitches, but in reverse, backward! This creates a very interesting texture on the edge of the squares. Additionally, it's a very robust join, ideal for projects that need to withstand more use, such as bags or even rugs.
Step by step
- Place two squares with the right sides facing you.
- Work along the edge of both squares with crab stitches, meaning single crochet stitches worked backward.
- Continue around the sides of the granny squares to join them.
This method creates a strong, visible join, perfect for projects that need a prominent edge, such as blankets or bags.
Open stitch
For light or more decorative projects, the open stitch is wonderful.
The fifth of these 8 ways to join crochet squares consists of leaving small spaces between the stitches while joining the squares, which creates an airy effect.
Step by step
- Place the squares with the right sides facing you.
- Crochet a chain and join it to the squares with single crochet stitches at regular intervals.
- Leave space between the joins to create an open effect.
At Lanas Caricia we recommend this technique among the 8 ways to join crochet squares when you want the join to be less dense and the project to maintain a light style. For example, it's perfect for shawls or curtains, where the finishes tend to be lighter and more delicate.
Picot join
If you like delicate things and want to add an extra touch, you'll love the picot join as one of the 8 ways to join crochet squares.
Step by step
- Place the squares side by side.
- Work a series of single crochet stitches along the edges.
- Every few stitches, create a small picot (3-4 chains) before continuing with the single crochet stitches.
The picot adds a delicate and decorative detail to the join, ideal for projects that require a more ornamental touch, such as baby blankets or bedspreads.
Single crochet join
This technique is very simple, but also one of the 8 ways to join crochet squares that offers the firmest results.
Step by step
- Place the squares with right sides facing each other.
- Work single crochet stitches along the edges, making sure to go through both squares.
- Continue until all sides are joined.
It's ideal for coats, bags, or any project that needs a bit more strength. If you want the join to stand out, you can use a contrasting yarn color.
Continuous join
If you have a large project, like a blanket with many squares, you'll love this method. The idea is to join the squares without cutting the yarn, first in horizontal rows and then vertical ones.
With the last of these 8 ways to join crochet squares, you save a lot of time and effort, because you don't have to join square by square.
Step by step
- Arrange the squares as desired.
- Begin by joining the horizontal rows with slip stitches or single crochet stitches.
- Then, join the vertical rows in the same way, without cutting the yarn between joins.
Joining crochet squares doesn't have to be complicated. With these 8 ways to join crochet squares, you have a variety of techniques to choose from depending on the type of project you're creating.
From discreet to decorative joins, these options will allow you to customize your crochet projects with ease and style.
At Lanas Caricia, you'll find all the yarns and materials you need to successfully carry out these techniques. Visit our online store and find the perfect material for your next creations. And don't forget to follow us on our social media!
