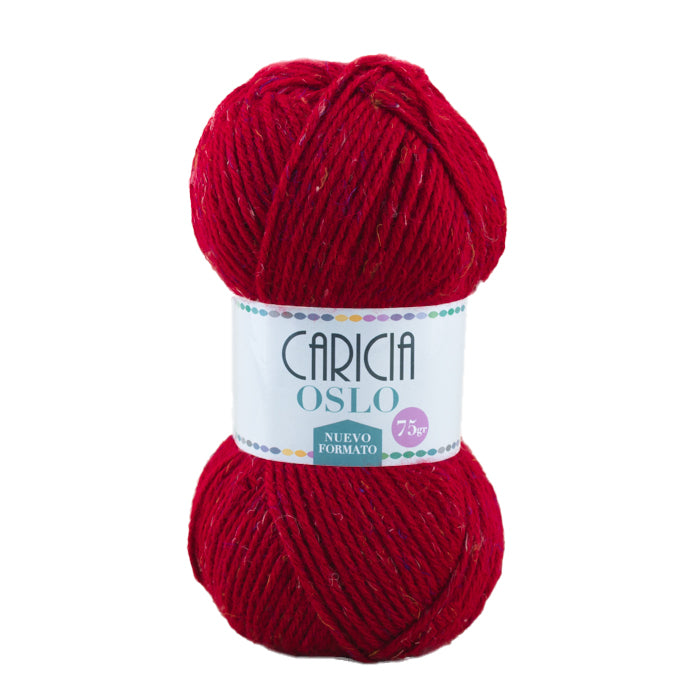
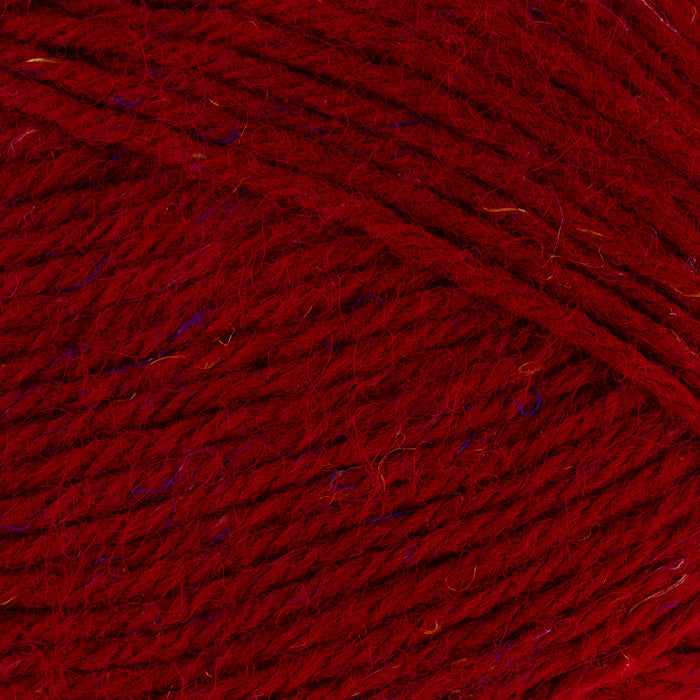
Perfect for knitting warm and soft garments for chilly spring mornings, today we bring you an ideal project knitted with Caricia Oslo New Format. 85% Acrylic 10% PA 5% Linen, this quality is knitted with 3.5-4 mm knitting needles and a 4 mm crochet hook.
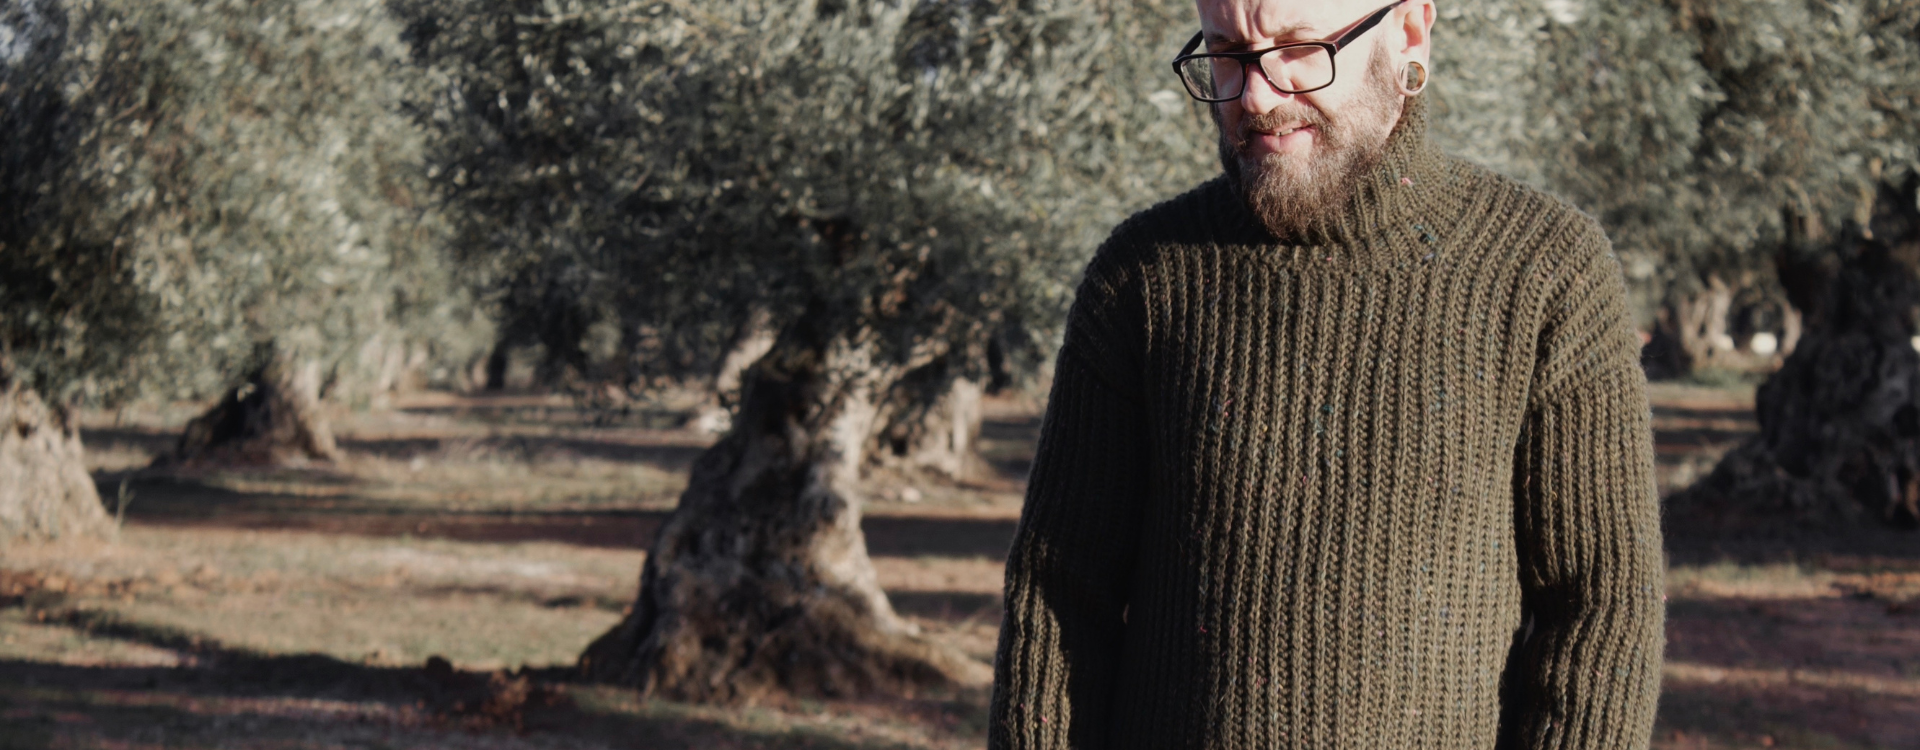
We present the Olivo Sweater, designed by Albita de Plata, a very versatile sweater that you can wear on any occasion, from a dinner with friends to a country getaway – vacation retreat mode! Plus, the best part of knitting is that you can customize the garment however you like, so go ahead and choose the color of Caricia Oslo that you like best.
Do you want to join the challenge of knitting it? We tell you step by step how to do it in the following pattern, let's go!
YOU WILL NEED
Fiber: Caricia Oslo New Format color 108 (9 skeins).
Hook: 5.5mm

HOW TO KNIT THE OLIVO SWEATER?
Stitches used
ch: chain
sl st BLO: slip stitch back loop only
h-sl st: half slip stitch
sc: single crochet
Clarifications
- We are going to work with the "false crochet" technique, which means crocheting in such a way that the result will look like knitting.
- We will work in rows, always making a chain stitch at the beginning of each row (which will not count as a stitch) and turning the work.
- Remember, throughout the entire chart, to make the slip stitches and half slip stitches THROUGH THE BACK LOOP, always. Except for the first round, which is worked on the initial chain.
- H-sl st: this stitch is the same as the slip stitch, but you yarn over before inserting the hook into the stitch. That is, yarn over, insert the hook, yarn over, and pull the last loop through the two loops on the hook.
- The side seams and the shoulder and sleeve seams can be made with a regular slip stitch with a crochet hook, or with a tapestry needle. Whatever is easiest for you.
- The size of this sweater is men's S, but you have the necessary tips to adapt it to any size. Read patiently and understand each step, and it will be a piece of cake!
Measurements
I'm going to explain the necessary measurements you'll need to adapt the pattern to any size. In my case, I'll give you mine, a men's size S. It's as simple as taking your model (or yourself) and measuring the parts I tell you about below:
- Length (from shoulder to where you want the sweater to fall), in my case, my model is 62cm.
- Width (you need to take the widest measurement of the following 3)
Shoulder-to-shoulder, in my case, 39cm
Chest circumference divided by two, in my case 45.5cm
Abdomen circumference divided by two, in my case 42.5cm
The reference width measurement, in my case, will be 45.5cm
- Shoulder (from shoulder to base of neck), my model is 13cm
- Neckline (from base of neck to collarbone), in my case, 9cm
- Arm length (from shoulder to wrist, with arm extended) my model is 50cm
- Arm circumference (at the widest part), in my case, 30cm
Once we have noted down our model's measurements (whatever their size), we start with the pattern.
Pattern
We are going to knit 4 main pieces, which will be the back, front, and the two sleeves. Then we will add the collar to the already formed sweater.
Back:
Start by making a chain as long as your model's LENGTH measurement.
In the first row, we will mark how much elastic we want and how much in normal stitch. In my case, it was 5cm of elastic and the rest in normal stitch. That is, my first row has 10SL ST and 80H-SL ST. We will repeat this row (with the elastic at the end or beginning, as appropriate) as many times as necessary until we have your model's WIDTH measurement. Below are the rows for size S:

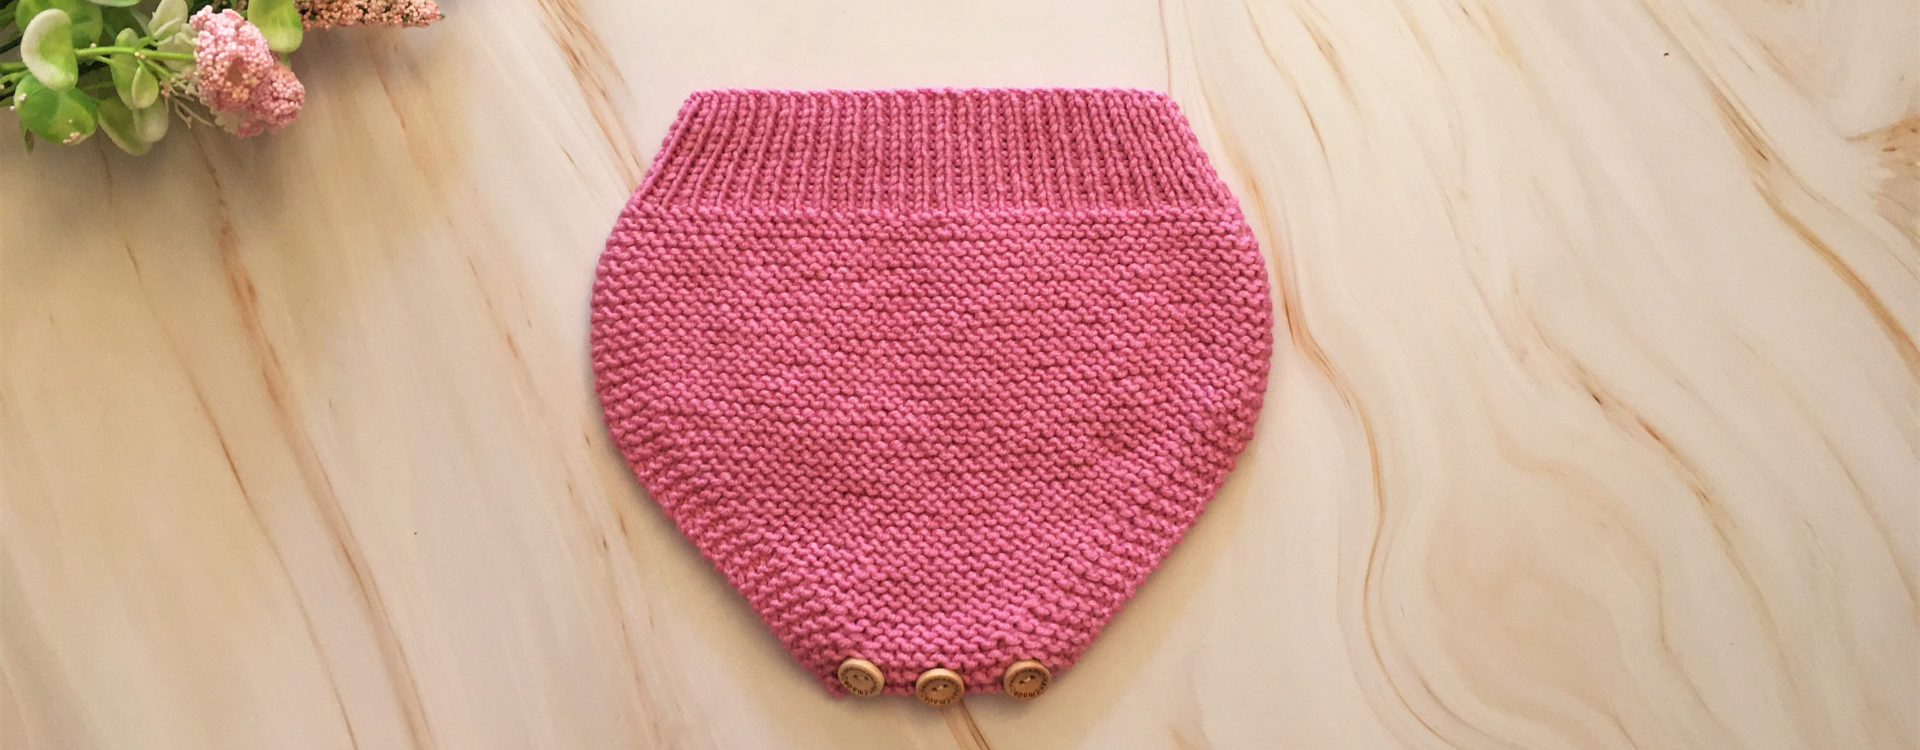
Front:
This piece is almost the same as the back, but leaving a space for the neck. We start by making the same chains we made for the back (your model's LENGTH measurement), but instead of making as many rows as the WIDTH measurement, we will make as many rows as your model's SHOULDER measurement. Once we have that part, we will make a shorter row, taking into account your model's NECKLINE measurement, to know how much space we need to leave for the neck. We continue making these short rows until we have the same number of rows as the first part of the piece, that is, the SHOULDER measurement, where we go back to making the long rows.
You will have a piece like this:

Once we have the two pieces, front and back, we proceed to join them. This is where our model's ARM CIRCUMFERENCE measurement comes into play. We divide that measurement by two, and that is the space we will leave for the sleeve opening. We join the two pieces, with regular slip stitch or a tapestry needle, whichever you prefer, along the two sides (leaving the opening for the sleeves) and the two shoulders. Leaving the space free for the neck.
Sleeve (x2):
We are going to make a chain as long as our model's ARM LENGTH measurement, and in the same way as with the back piece, we will make an elastic and as many rows as our model's ARM CIRCUMFERENCE measurement. We will have two pieces like this:

Now, we join the sleeves lengthwise to form a "tube" and sew them to the body pieces in the space we had left for the sleeves.
The sweater is almost completely formed; we just need to knit the collar, which we will do as follows:
Collar:
We make a round of regular single crochet all around the space left at the neck. Once we return to the first single crochet of the round, we make as many air chains as we would like for the height of the collar. In my case, since I made a turtleneck, I made it 16cm long, which is equivalent to 38 chains. We go back down that chain with slip stitches, and at the end stitch, precisely the single crochet already in the neckline, we make a slip stitch to the next single crochet and go up again with slip stitches through the main chain. We continue knitting the collar in this way until we complete the entire perimeter of the neckline. The trick for the collar is to knit it as we join it to the neckline, to avoid knitting a separate piece that we would then have to join.

And now the sweater is finished! Remember to read it patiently, as many times as you need to first internalize the structure of the pattern and the sweater. Once you are clear on the steps to follow and the pieces you are going to form, get to work. And most importantly, always adapt it to yourself and your model ;)
FINAL RESULT


