A new pattern to continue perfecting macramé! With this project, you can display your favorite photos in the most original way. If you want to learn how to weave this tapestry-style frame, keep reading to find out more.
MATERIALS
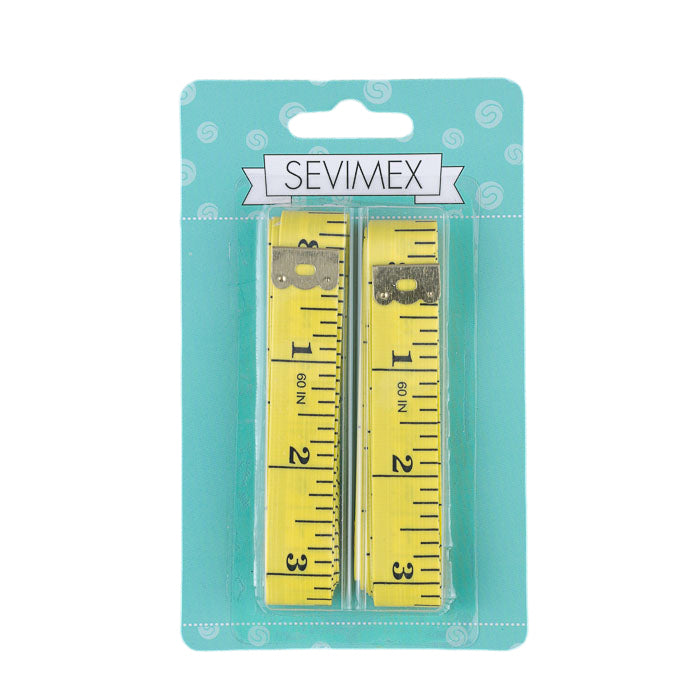
- 1 stick (30cm) - 1 ball of Caricia Eco cord color 301 (white) - 1 ball of Caricia Eco cord color 302 (stone) - Measuring tape - Scissors - Crochet hook (optional)

HOW TO MAKE THIS PHOTO FRAME?
Product measurements
30cm wide, 50cm long
Knots used
Lark's head knot Square knot Clove hitch knot
PREPARATION:
Cut 18 cords of white cord, 3 meters each. Cut 6 cords of stone-colored cord, 3 meters each. Cut 2 cords of any color, 60cm each.
STEP-BY-STEP:
Arrange the cords end to end on the stick, folding each cord in half to form a lark's head knot, as follows: 2 white cords, then 3 stone-colored cords, then 14 white cords (which will be in the middle), 3 stone-colored cords, and finish with 2 white cords. Start working with the first 7 cords and the last 7 cords (when folded in half, they become 14 on each side), leaving the middle ones for later. Create a design like in image 2 using a diagonal clove hitch knot from top to bottom and center, working with the stone cords first. Do the same with the next cords 3 times, on the right and left sides, until you form the design in image 3. Then join the white cords in the center with a square knot. Continue with another row of clove hitch knots on the next cord and close the design with a square knot. Repeat three more times on each side of the design and close with a square knot. Do exactly the same process with the 7 pairs of cords on the right end of the stick. Start working with the middle cords, creating the design in image 7 with alternating square knots. The top part is now finished. Use one of the 60cm cords to create what would be the "roof" of the frame, joining all the cords with a clove hitch knot. From now on, separate the cords into groups: first, start with the 20 white cords in the middle and make 5 square knots, alternating them until they reach 15 cm in length as in image 10 (this will be behind the photograph). Then work with the next 4 cords on both sides and make a variation of the square knot (the center cords are passed outwards from behind and the other 2 pass to the center from the front, forming the wrapped square knot. Make the strip 15 cm long and then repeat the process on the other side. Now take the next 6 cords on each side and make the figure-8 design with a clove hitch knot. Continue until 15 cm long and repeat the process on the other side. Take the remaining 4 cords on both sides and make spaced square knots until they reach 15 cm in length. Finally, join all these 15 cm strips with a clove hitch knot using the other 60 cm cord that we had set aside, and this would be the bottom of the photo frame. THE PURPOSE OF HAVING SEVERAL SEPARATE STRIPS IS TO ALLOW FOR PHOTOGRAPHS OF DIFFERENT SIZES TO BE PLACED. Finish the piece by making designs similar or identical to the top part, using the basic knots we already learned (an example can be seen in image 17 if you want to make a different pattern from the one you already made above). The remaining cords on the sides (the 60 cm ones) are hidden behind the tapestry using a crochet hook or simply by cutting them. The rest of the cords are cut to the same height and can be finished with knots if desired.


FINAL RESULT
Enjoy!


