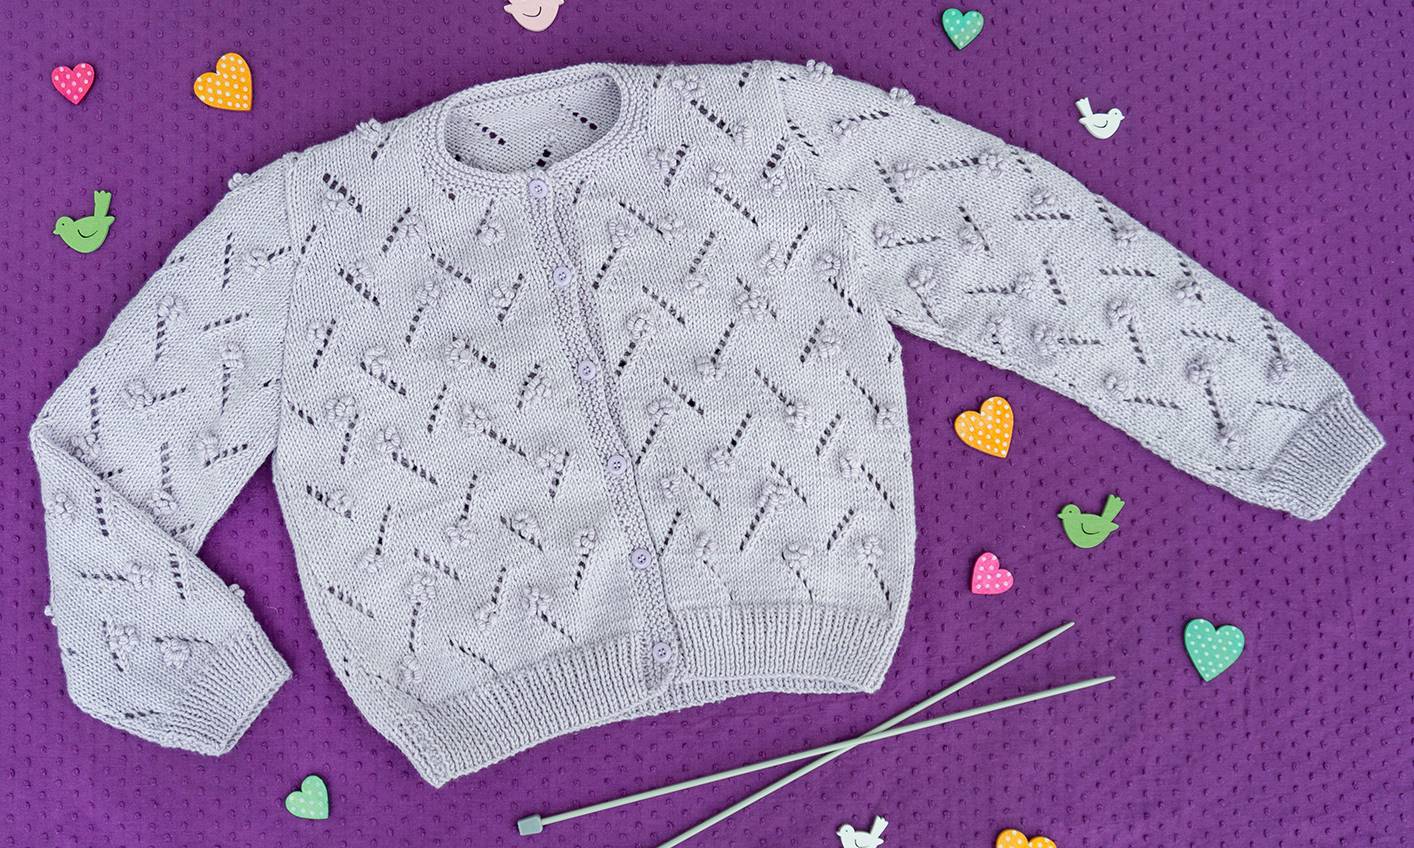
We know, this cardigan for the queens of the house couldn't be more perfect. It has the freshness of Caricia Primavera and the sweetness of the mauve color. Here's the free pattern!
MATERIALS
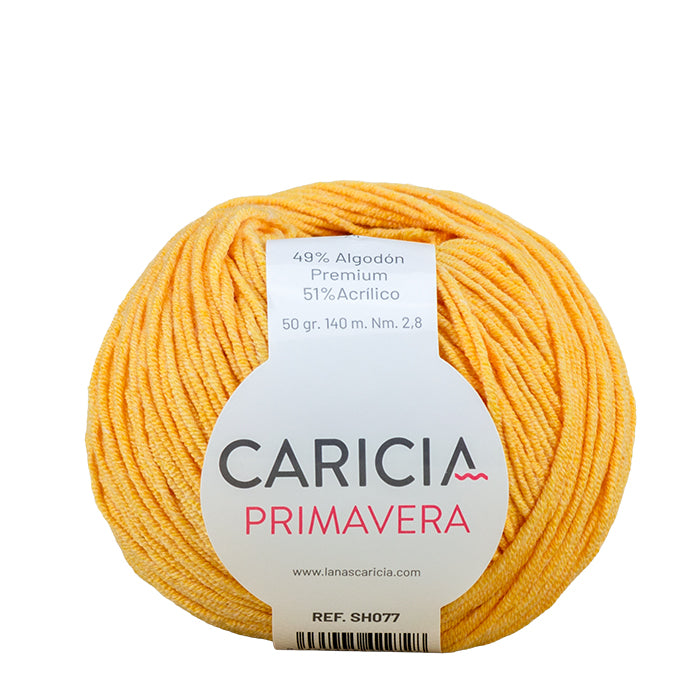
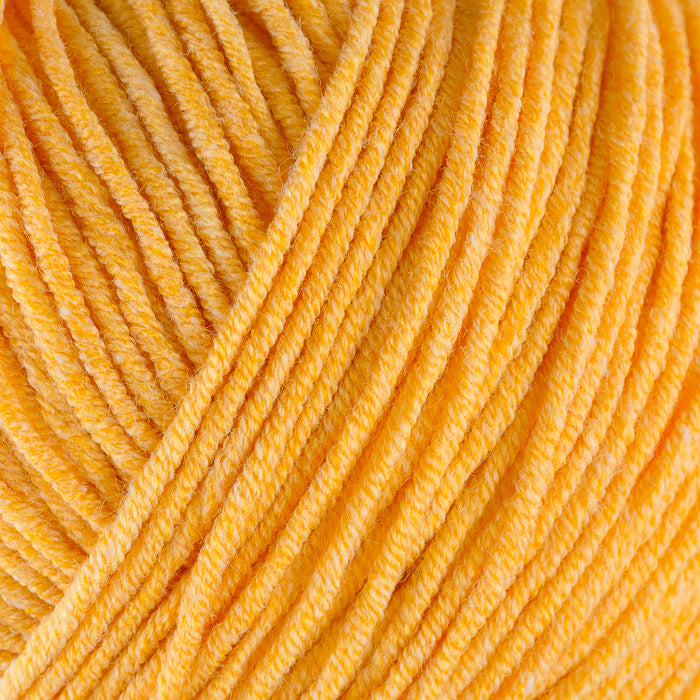
Caricia Primavera Col. 009: 5 balls Knitting needles size 3 Yarn needle 6 Buttons Choose your favorite colors in our online store.

HOW TO MAKE THE PRIMAVERA CARDIGAN?
SIZE 6 YEARS OLD
DIFFICULTY 3
BACK:
Cast on 91 sts. Work 14 rows in 1x1 elastic stitch. Then 1 knit row and the next purl row. In the next row, on the right side of the work, begin the lace pattern. All in stockinette stitch, except the edges and the elastic. For the first lace row, work 6 sts, yarn over and knit two stitches together. Work 12 sts, yarn over and repeat until the end of the row, which will be 6 sts instead of 12 sts. The wrong side rows will always be purl stitches, without making any changes. The following rows, until 5 lace patterns are made, will be 1 stitch before each time so that the lace pattern turns to the right or left, as appropriate (see photo). To twist to the right, take 2 sts and yarn over; to twist to the left, yarn over and take 2 sts together. It is best to be guided by the emerging design. Keep in mind that there must be 12 stitches between each lace stitch. At 23 cm, from the beginning, work the armhole.
ARMHOLE:
Bind off 3 sts first, then decrease 7 sts 1 by 1, but every other row, on both sides. At 16 cm from the armhole, shape the shoulder, binding off 7-7-7 on each side. Then bind off the remaining stitches.
FRONTS:
Cast on 44 sts, elastic and lace pattern the same as the back. Armhole and shoulders also the same. Only the neckline changes, starting at 32 cm from the beginning. Decrease 4 sts 3-3-2-1. Then 14 plain rows and reach the shoulder. The other front, the same but in reverse.
SLEEVE:
Cast on 50 sts. The length to the armhole is 30 cm. In that section, increase 8 sts on each side, evenly distributed.
ARMHOLE AND CROWN:
Bind off 3 sts first, then 14 sts 1 by 1, and second 2-2-2-3 and bind off the remaining stitches.
ASSEMBLY AND FINISHING
Iron all pieces well. Sew the shoulders and pick up the necessary stitches all around the neck and work 6 rows of garter stitch and bind off. Pick up stitches on the 2 front rows and work 6 rows of garter stitch the same as the neck. On one of the sides, make the buttonholes. Sew the sides and the sleeve seams and adapt them to the armholes. Sew on the buttons. The raised decorations are made as follows: with the yarn needle and a long strand, pierce in the desired place, with the strand give 6 turns to the needle and pierce again near where you pierced at the beginning. Repeat depending on how large you want the decoration.
FINAL RESULT


