


Amigurumi teddy bear
Looking for a gift for the little one? This amigurumi bear might be a good option. You only need a skein of yarn, a crochet hook, and a tapestry needle. Will you dare to knit this cutie?
YOU WILL NEED

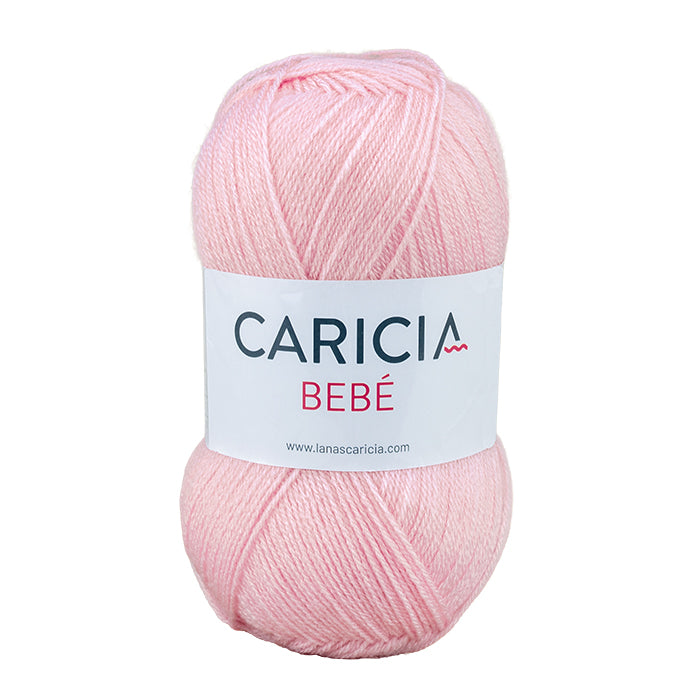
- Caricia Bebé Yarn COL Nº 005, 1 skein
- 2.5 mm crochet hook
- Tapestry needle
- Stitch marker
- Fiberfill for stuffing
- Printed ribbon
ABBREVIATIONS
- Stitch: st
- Increase: inc.
- Decrease: dec.
- Round: rnd
HOW TO MAKE THE BEAR?
Head
The magic ring is the first round; we will always crochet our work in a spiral, so it is necessary to use the stitch marker at the beginning of each round, this way we will never get lost.
1st rnd. Start by crocheting a magic ring of 6 sc. 2nd rnd. Crochet 2 sc in each stitch, repeat, (12 st) 3rd rnd. Crochet 1 sc and make 1 inc. in the next stitch, repeat, (18 st) 4th rnd. Crochet 2 sc and 1 inc. repeat, (24 st) 5th rnd. Crochet 3 sc and 1 inc. repeat, (30 st) 6th rnd. Crochet 4 sc, 1 inc. repeat, (36 st) 7th rnd. Crochet 5 sc, 1 inc. repeat, (42 st) 8th rnd. Crochet 6 sc, 1 inc. repeat, (48 st) 9th rnd. Crochet until rnd 16 without increasing, (8 rnds), (48 st) 17th rnd. Crochet 6 sc, 1 dec. repeat, (42 st) 18th rnd. Crochet 5 sc, 1 dec. repeat, (36 st) 19th rnd. Crochet 4 sc, 1 dec. repeat, (30 st) 20th rnd. Crochet 3 sc, 1 dec. repeat, (24 st) 21st rnd. Crochet 2 sc, 1 dec. repeat, (18 st) Stuff with fiberfill 22nd rnd. Crochet 1 sc, 1 dec. repeat, (12 st).
Body
Next, we begin to crochet the body. 23rd rnd. Crochet 1 sc, 1 inc. repeat, (18 st) 24th rnd. Crochet 2 sc, 1 inc. repeat, (24 st) 25th rnd. Crochet until rnd 30 without increasing, (24 st) 31st rnd. Crochet 2 sc, 1 dec. repeat, (18 st) 32nd rnd. Crochet 1 sc, 1 dec. repeat, (12 st) 33rd rnd. Crochet 1 sc, 1 dec. repeat, (6 st) Finish stuffing the body and close the work.
Arms (make 2)
1st rnd. Crochet a magic ring of 6 sc. 2nd rnd. Crochet 2 sc in each stitch, repeat, (12 st) 3rd rnd. Crochet 1 sc, 1 inc. repeat, (18 st) 4th rnd. Crochet without increasing until rnd 6, (18 st), but inserting the hook through the center of the chain. 7th rnd. Crochet 2 sc, 1 dec. repeat, (12 st) 8th rnd. Crochet this rnd and the next without decreasing, (12 st) Stuff with fiberfill 10th rnd. Crochet 1 sc, 1 dec. repeat, (6 st) 11th rnd. Crochet the 6 sc. Close the work, leaving a tail for sewing to the body.
Legs (make 2)
From the 1st to the 4th round, crochet the same as the arm until you have 24 sc.
5th rnd. Crochet without increasing or decreasing until the 8th rnd, (24 st). Crochet this round by inserting the hook through the center of the chain (as we did for the arm).
9th rnd. Crochet 2 sc, 1 dec. repeat, (18 st)
10th rnd. Crochet the 18 sc without decreasing. (18 st)
11th rnd. Crochet 2 sc, 1 dec. repeat, (12 st)
Stuff with fiberfill 12th rnd. Crochet 12 sc without decreasing, (12 st) 13th rnd. Crochet 1 sc, 1 dec. repeat, (6 st) 14th rnd. Crochet the 6 sc and close the work, leaving enough yarn to sew the leg to the body.
Snout
Start by making a magic ring of 6 sc. From the 1st to the 4th round, crochet the same as the arm until you have 24 sc. Close and leave enough yarn to sew to the head.
Ears (make 2)
Crochet the same as the snout, (24 st). Fold each piece in half and sew it, obtaining a semicircle. Leave a tail for sewing to the head.
ASSEMBLY AND FINISHING
Carefully observe the photo before attaching the different parts to the body.
With the tapestry needle, sew the ears to the head. Embroider the nose and mouth in black on the snout.
Sew the arms and legs.
Make a bow around the neck with the ribbon.
FINISHED PRODUCT


The little bow is the final touch. For presentation, we suggest wrapping it in clear paper and hanging it from a balloon in the child's favorite color. They are sure to love it!

