Crochet Bag Pattern: create the rope bag step-by-step
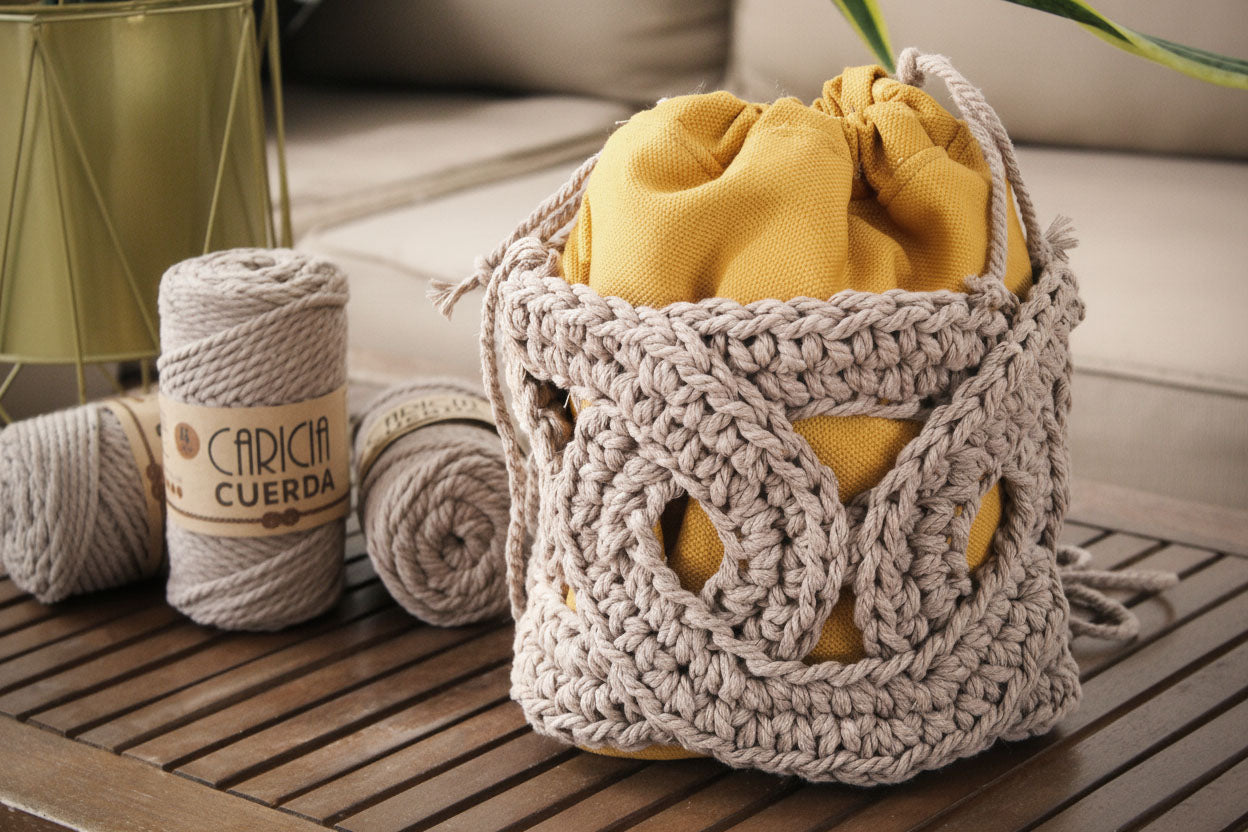
Are you looking for a crochet bag patternthat combines handmade creativity, modern style, and is easy to crochet? Thiscomplete patternis perfect for you. Learn how to make theRope Bag, acrochetdesign that fuses rustic materials such as thick rope, linked rings, and a custom fabric lining. The result: a unique, durable, and visually appealing crochet bag.
Thiscrochet bag patternis ideal whether you are just starting in the world of crochet or if you already know the basic stitches and want a design with its own character. Plus, all materials are accessible and affordable, making it perfect for any skill level.
Materials to create your handmade crochet bag pattern
Before you start crocheting, make sure you have the following materials for thiscrochet bag pattern:
Stitches used: ch: chain; sc: single crochet and sl st: slip stitch
Final size: 30x28cm
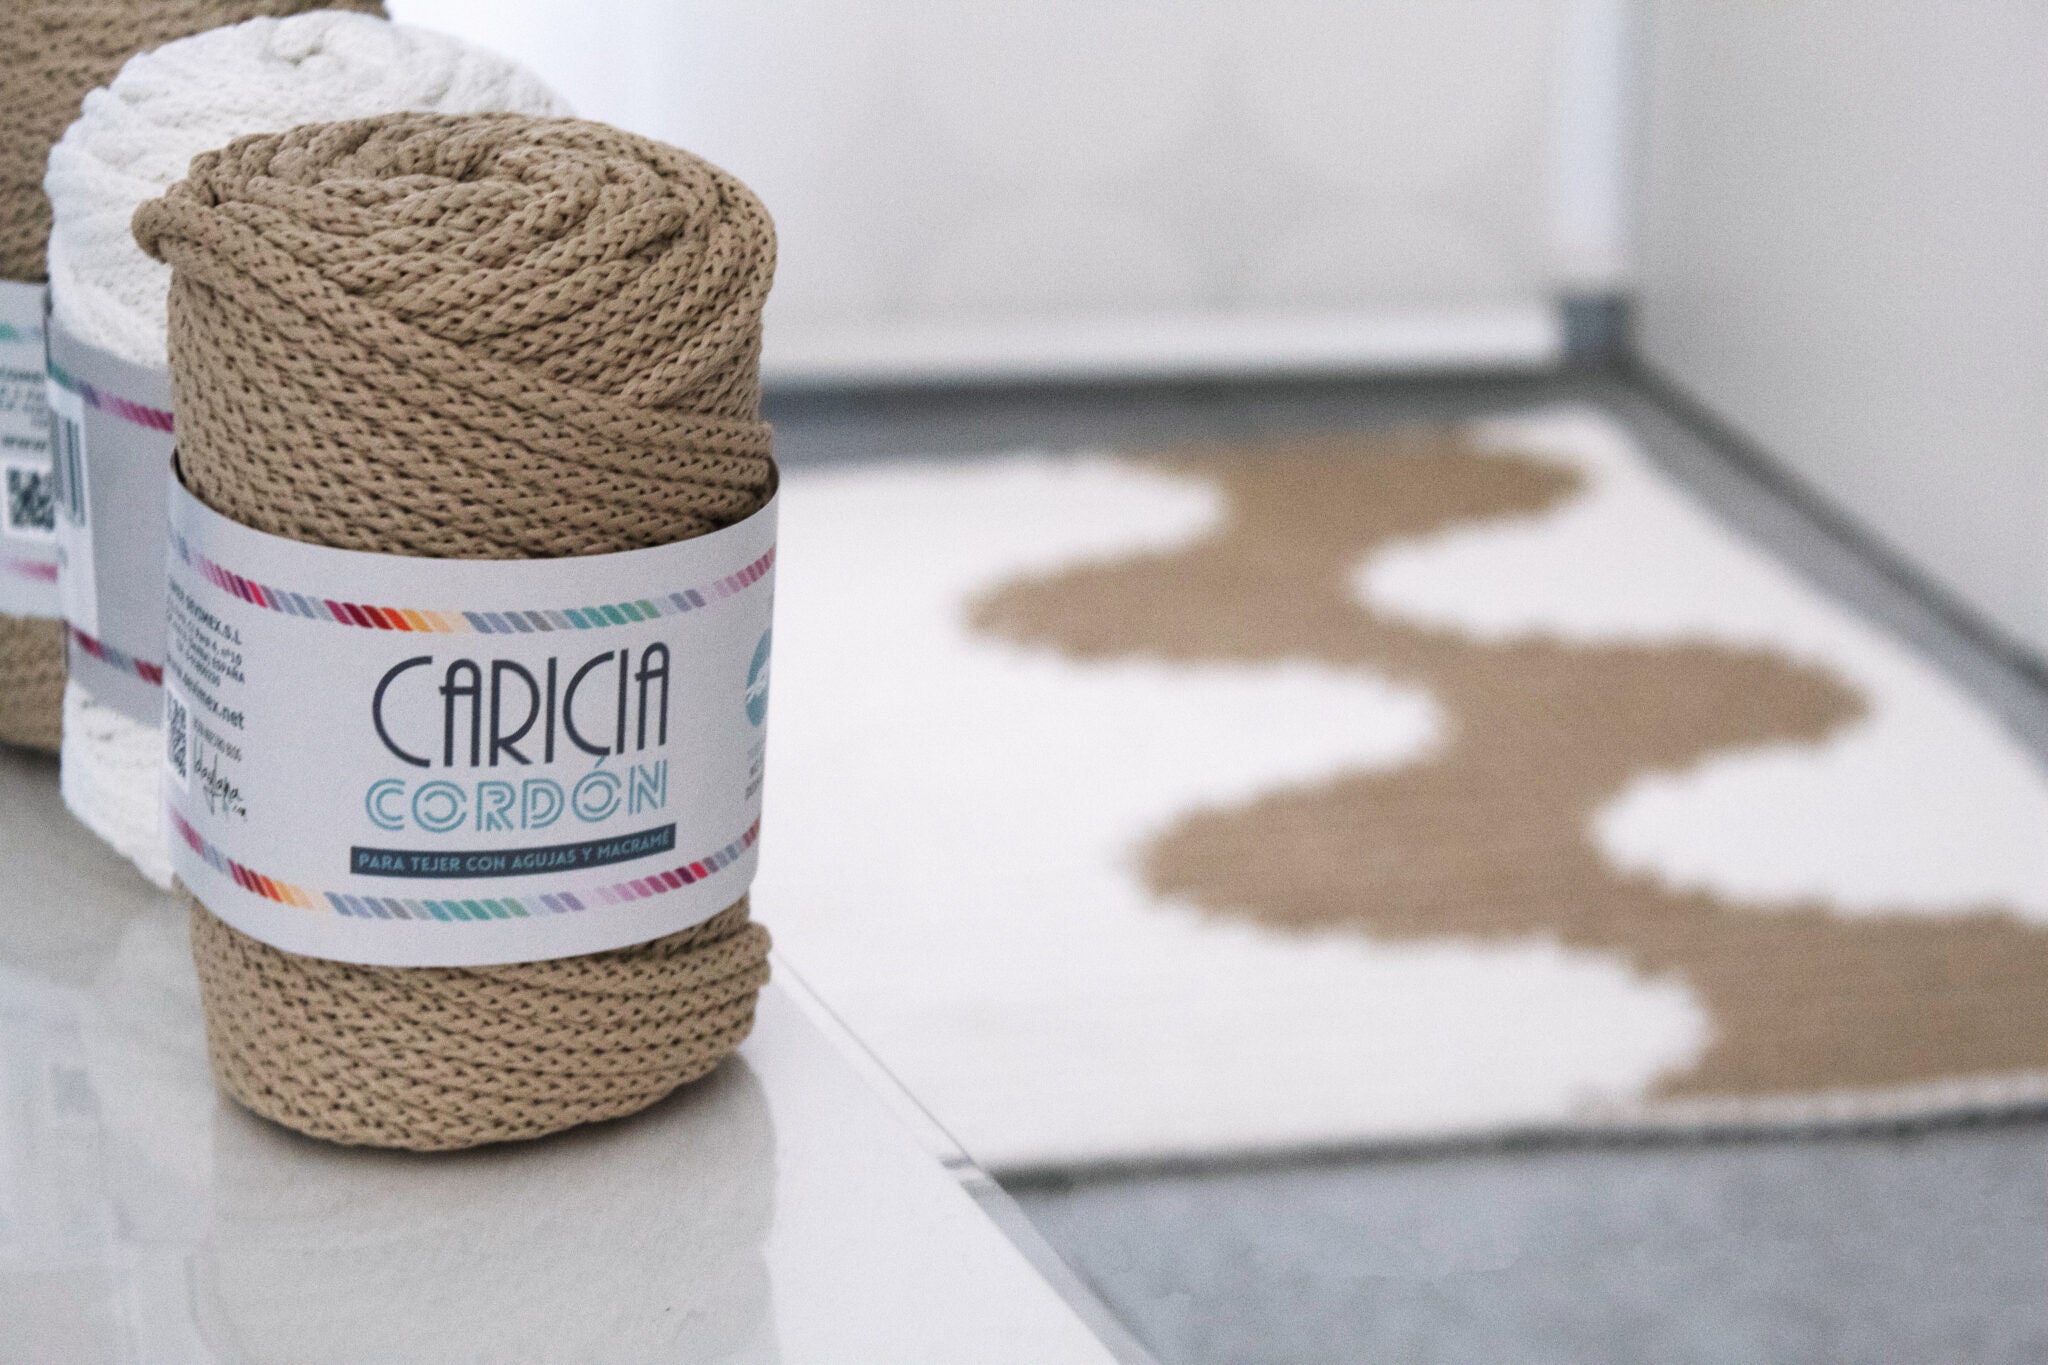
Caricia textile rope provides rigidity and volume without the need for metal structures, which simplifies crocheting and results in a robust, natural, and modern bag.
Step-by-step pattern: how to crochet the Rope Bag
Thiscrochet bag patternis divided into three essential parts: linked rings, rope handle, and inner lining. Below, we guide you through each section.
Part 1 – Intertwined crochet rings: bag structure
The base is made up ofsix crocheted and interconnected rings, forming a continuous decorative chain that shapes the bag.
First ring
Chain 28 stitches (28 ch)
Join with a slip stitch (sl st) the last and first chain stitch to form a circle
Work on the circle:
Round 1:3 single crochet (sc), 1 increase (inc) → repeat 7 times (total: 35 stitches)
Repeat the procedure, butpass the previous ring inside the new onebefore closing it, so that they are linked like links.
Circular closure
In the sixth ring, also include the first and fifth when forming the initial chain. This closes the structure in a circle, providing firmness and symmetry.
Reinforcement
Sew the areas where the rings connect with strong thread. This step improves durability and maintains the shape of the bag.
Part 2 – Making the handle with thick rope
Cut two 150 cm lengths of rope
Tie the ends to the sides of the bag with a simple knot
Style tip:
For a bohemian touch, leave the knots visible. If you prefer a more polished look, you can use aleather strap, decorative ribbon, or metal chain.
Part 3 – Inner lining of the crochet bag pattern
The lining not only improves the finish but also adds functionality. Follow these steps to add it correctly:
Main body of the lining
Cut 2 pieces of fabric measuring 28 × 30 cm
Join with a straight line of thread on three sides, leaving one 28 cm side open
Closure channel
Cut 2 pieces of 25 × 10 cm
Hem the short sides (10 cm)
Sew these pieces to the opening of the main body, right sides together
Bottom of the lining
On the closed side (28 cm), make two 4 cm pleats at the corners and sew them
This adds depth and volume to the bag
Final assembly
Place the lining right side out inside the bag
Trim any excess threads
Thread a strand of Caricia Cuerda through the channel with the help of a safety pin to create a drawstring closure
Ideas to personalize your crochet bag
Turn yourcrochet bag patterninto a unique work with these ideas:
Colors: neutral tones for minimalism or vibrant colors for a cheerful style
Decorative details: add tassels, beads, metal charms, or woven labels
Printed lining: add a surprise touch with fun fabrics on the inside
Size: change the number of rings, the handle length, or the material thickness
This pattern is versatile and easily modifiable. Ideal for those who want a personalized design with a professional finish.
Looking for more crochet bag patterns?
Visit theblogofLanas Caricia, where you will find many morefree crochet bag patternsfor all skill levels. From structured models to relaxed and functional bags.
Download this crochet bag pattern for free and share your creation
Ready to crochet yourcrochet bag pattern step-by-step?
We want to see your result! Tag us on Instagram as@lanascariciaso we can share your creation.
Frequently asked questions about crochet bag patterns
How to crochet a bag step-by-step?
To crochet a bag step-by-step, you need a well-structured pattern, materials like thick rope, a suitable needle, and a clear design. This tutorial includes detailed instructions divided into rings, handle, and interior, ideal for following even if you are a beginner.
What yarn to use for a crochet bag?
For bags, it is recommended to use thick and resistant yarn, such asCaricia Cuerda, which provides body without the need for internal structures. You can also use cotton rope, jute, or recycled materials, depending on the desired finish.
Can I adapt this pattern to another bag size?
Yes, you can modify the number of rings, the handle length, or the lining dimensions. It is a versatile pattern that allows adjustments without altering its basic structure.
Is this pattern suitable for all audiences?
Absolutely. Although it has details, the instructions are designed for those who already master basic stitches such as chain, single crochet, and slip stitch. In addition, the assembly is simple and guided step-by-step.
Does this bag have a closure?
Yes, the interior has a lining with a channel through which a rope is passed that acts as a drawstring closure. It is functional, simple, and elegant.ra and create unique combinations. With this guide, you now knowhow to crochet a rug step-by-step, choose thebest yarns for crocheting rugsand adapt the pattern to your style.
Sobre el autor
Equipo Lanas Caricia
Organization
At Lanas Caricia, we have been accompanying knitting and crochet enthusiasts for generations. We are part of a company with over a century of history specializing in wool, cotton, and craft yarns, and we share that expertise in every article—from step-by-step patterns and knitting and crochet techniques to material guides and inspiring ideas. Our goal is simple: to ensure every project you start is a success.
How to crochet a rug step by step
Do you want to learn how to crochet a rug and create a unique handcrafted piece for your home?
In this comprehensive guide, you will find a step-by-step tutori...
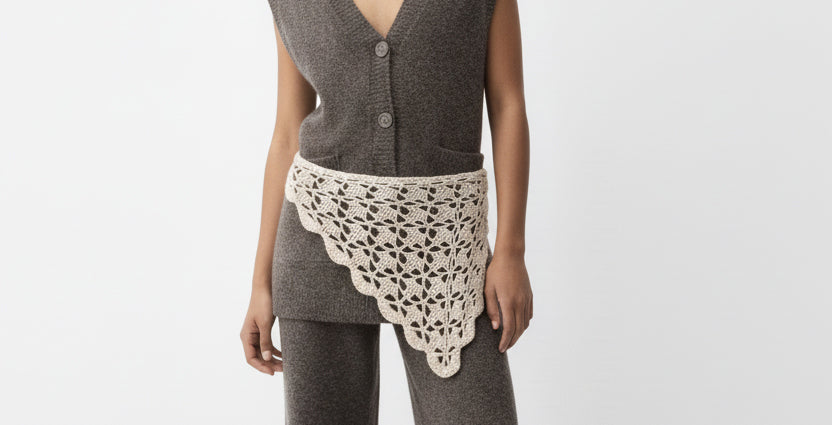
Albita de Plata surprises us with a new trendy design. Today she shows us how to crochet a bandana step by step, including a chart for this project, which is a must-have this season.
Materials:
Fi...


