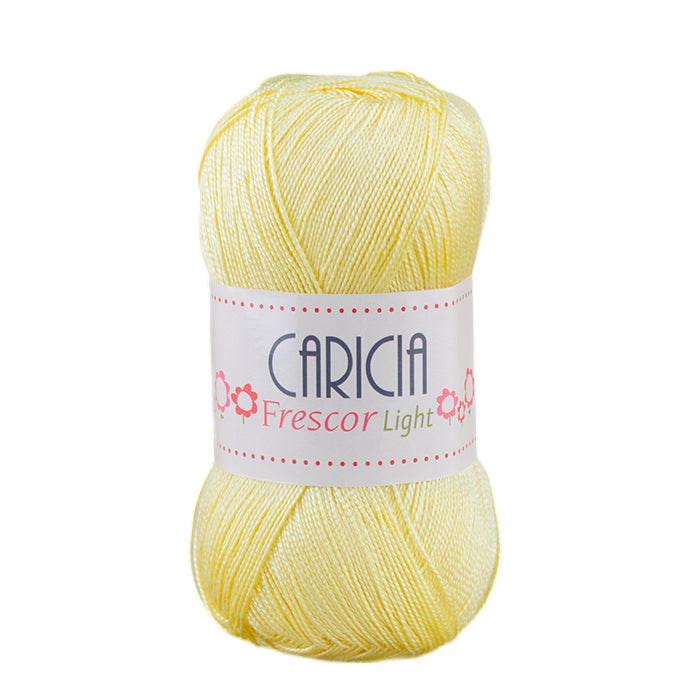
You'll fall in love with every detail of the Serendipia Top, we're sure of it. And its name couldn't be more fitting, because this ideal top has arrived unexpectedly to give us another reason to pick up our needles. It's knitted with our new Caricia Frescor Light, a 100% acrylic yarn available in 16 refreshing colors to get you started.
The pattern is available in size S, but its designer, Albita de Plata, will explain how to adapt it to any size.
Are you up for it?
YOU WILL NEED
Yarn: 211g Caricia Frescor Light (Color 020)
Hook: 3.25mm

HOW TO MAKE THE SERENDIPIA TOP?
STITCHES USED
ch: chain stitch
sl st: slip stitch
sc: single crochet
dc: double crochet
CHART

PATTERN
Clarifications:
- We will work the piece in two parts (front and back) from bottom to top in rows, which we will join at the shoulders and sides to form the top.
- Each dc row starts with 3ch that DO count as the 1st dc.
- I worked the entire piece with double yarn, so that the top had more weight and was a little denser. You can try doing it with single yarn, adapting the measurements, and choose the way you like best.
Size adjustment:
Being a simple two-piece project, it is very easy to adapt it to any size. You must be clear that the main pattern in the chart is formed with 18 stitches, that is, you will have to crochet a chain multiple of 18 + 9 (edges), as long as you need. With just that tip you can adapt it to the size you want. Regarding the length, you will have no problem, as you can do as many rows as you need.
The measurement for size S in my case for the top is 46cm wide by 40cm long.
Pattern:
Remember, this pattern is for a size S, you can adapt it to the one you need following the previous tips.

Back part:
- 99ch (which is 90 (multiple of 18) + 9)
- 99sc
1. Follow the chart for as many rows as we want our top to be long, in this case it was 43 rows.
- Once the chart is finished, we are going to make a sc border around the entire piece except for the bottom (starting chains). When you find dc in the previous row, make one sc, and when you find the side of a dc or the 3ch, make two sc on each side.
- Cut the yarn and set aside.
Front part:
- We already know how many “designs” we have made in width and length, so now it will be easier for us.
- We make the same chains as in the back part and start in the same way to make this front piece.
- We will continue knitting row by row until we have just one design left to finish the height of the piece, this is where we will form the shoulders.
- When we have a square or rectangular piece that is missing a section of the chart design to finish the height, we will continue the chart but only making one of the side designs plus an edge, to form one of the shoulders.
- We make the complete section of a single design, cut the yarn and join it to the other end of the piece to do the same process, a single design and an edge, to knit the other shoulder.
- Once this front piece is finished, we will make a sc border around it, except for the bottom (starting chains) just as we did on the back. When you find dc in the previous row, make one sc, and when you find the side of a dc or the 3ch, make two sc on each side.
Joins and finishes:
- We have both pieces knitted, we join the shoulders with sl st and with the same 3.25mm hook. It's simple, you just have to join the two shoulder designs we left on the front, to as many stitches as they measure in width on the back. This will form the shoulders and the space for the neck.
- Now let's go with the sides: I have left 18cm of space for the arms, you measure how much you want to leave for your size. Close the rest of the side with sl st. In my case, I have left some openings at the bottom of the sides, you can do it or close the entire side. I have put 3 buttons in each side opening, crocheting a row of dc on one of the sides of the opening to serve as a flap to sew the buttons. There is no need to make buttonholes, the dc stitches on the side will serve.
- Once the two pieces are joined, the work is almost complete, you only need to make two finishing rows in the neck and arm openings, which will be the following: a first row of sc followed by another of sl st. Repeat these two rows in each opening (neck and arms).
- Hide the yarn ends with a tapestry needle and done!
FINAL RESULT