Summer is here, and it's time to prepare the cutest look for the little ones at home. Today we bring you the perfect pattern to learn how to crochet ideal baby espadrilles!
Pay attention and see how it's done!
YOU WILL NEED:
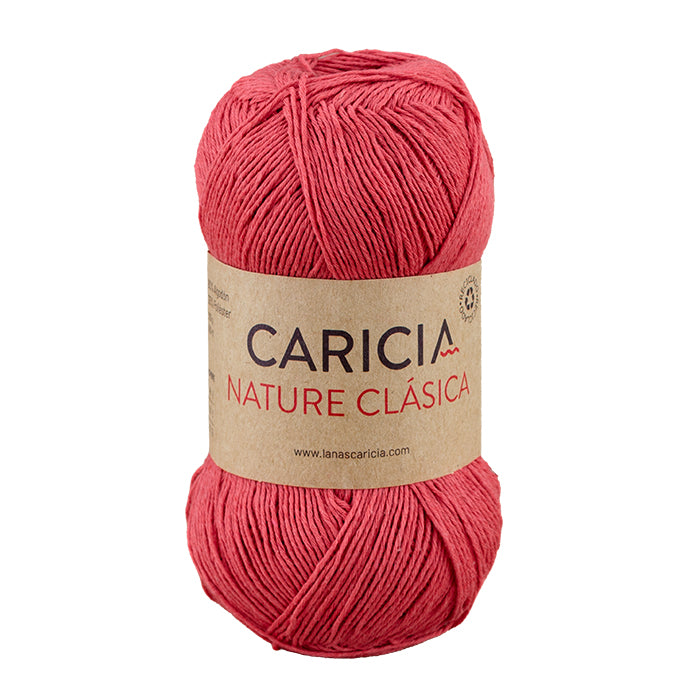
Yarn: Caricia Nature Clásica 101, 102. One skein of each.
Hook: 2.5 and 3mm
Extras: tapestry needle.

HOW TO MAKE THE BABY ESPADRILLES?
SIZE
0 to 3 months
ABBREVIATIONS
ch: chain stitch
sl st: slip stitch
sc: single crochet
hdc: half double crochet
dc: double crochet
inc: increase
sk1: skip one stitch, or in other words, leave one stitch unworked.
sk2: skip two stitches, or in other words, leave two stitches unworked.
tog: together, meaning that whenever any abbreviation has "tog" after it, it indicates that those stitches are worked into the same stitch.
CLARIFICATIONS
- We will crochet 4 pieces for each shoe. That is, each shoe will have two soles (which will be joined), a toe cap, and a heel.
- Whenever we start a row with SC, we will make one CH that will not count as a stitch. If the row starts with HDC, we will also make one CH, and if it starts with DC, we will make 2 CH. In no case will these chains count as the first stitch of the round or row.
- The size of this pattern is 0-3 months; it can be adapted to 3-6 months by going up one hook size.
- The pattern is simple, but it is very important to read each round step by step and go slowly.
PATTERN:
Sole
We are going to imitate the typical espadrille sole; for this, we will crochet with double yarn, color 102, and a 3mm hook. We will work in rounds, without turning the work.
Start by making 10ch
1. (starting in the second ch from the hook) 8sc - 3sc in next st - 7sc - 1inc (in the same ch where we made the 1st sc of the round, meaning in this stitch we would have 3sc together.) Close with sl st in the 1st stitch of the round.
2. Chain 1 and start in the same stitch where we closed. 1inc - 7sc - 3inc - 7sc - 2inc. Close with sl st in the 1st sc of the round.
3. Chain 1 and start in the same stitch where we closed. 1inc - 4sc - 2hdc - 2dc - 6inc - 2dc - 2hdc - 4sc - 3inc. Close with sl st in the 1st sc of the round.
4. Chain 1 and start in the same stitch where we closed. 1inc(hdc) - 7hdc - 4dc - 8inc(dc) - 4dc - 7hdc - 5inc(hdc). Total 50 stitches. Close with sl st in the 1st sc of the round. Chain 1 and cut yarn.
- Repeat the entire process and make another identical sole, but after the last sl st of round 4, do not chain and do not cut the yarn.
- Once we have both soles finished, place them one on top of the other (the one with the uncut yarn on top) with the right side facing up on both.
- Join the two soles with a full round of sl st around them. Total 50sl st.
- Now, take the 2.5mm hook, color 101 in single strand, not double. We are going to make a round of sc on the inner loop of the sl sts we crocheted to join the soles. Join the yarn in any of the sl sts and, carefully ensuring the scs face outwards, we will make 3sc - 1inc and repeat this sequence along the entire edge of the sole until we have a total of 62sc. Close with sl st, cut yarn and set the piece aside.
Toe Cap
We will now work normally, with color 101 yarn in a single strand and a 2.5mm hook. We will work in rows, turning the work after each row.
*Important: Whenever we start a row with SC, we will make a CH that will not count as a stitch. If the row starts with DC, we will make 2 CH. In no case will these chains count as the first stitch of the row.
Start by making 7ch
1. 1sc - sk2 - 5dc tog - sk2 - 1sc
2. 5dc tog - sk2 - 1sc - sk2 - 5dc tog
3. 3dc tog - sk1 - 1sc - sk2 - 5dc tog - sk2 - 1sc - sk1 - 3dc tog
4. 1sc - sk2 - 5dc tog - sk2 - 1sc - sk2 - 5dc tog - sk2 - 1sc
5. 3dc tog - sk2 - 1sc - sk2 - 5dc tog - sk2 - 1sc - sk2 - 3dc tog
6. Repeat row 4.
7. Repeat row 5.
- Without cutting the yarn, make a chain stitch and then a round of sc all around the side and bottom edge of the triangle we formed. That is, leave the top part, the decorative part, row 7, without making the single crochets. We should have a total of 30sc in this border round. Cut the yarn. And set the piece aside.
Heel
We continue working normally, with color 101 yarn in a single strand and a 2.5mm hook. We will work in rows, turning the work after each row.
*Important: Whenever we start a row with SC, we will make a CH that will not count as a stitch. If the row starts with DC, we will make 2 CH. In no case will these chains count as the first stitch of the row.
Start by making 7ch
1. 37sc
2. 1sc - *sk2 - 5dc tog - sk2 - 1sc*. Repeat from * to * until the end of the row.
3. 3dc tog - sk2 - 1sc - sk2 - 5dc tog - sk2 - 1sc - sk2 - 5dc tog - sk2 - 1sc - sk2 - 1hdc - sk2 - 1sc - sk2 - 5dc tog - sk2 - 1sc - sk2 - 5dc tog - sk2 - 1sc - sk2 - 3dc tog. Chain 1, cut yarn and set the piece aside.
Assembly
If you recall, you have a round of sc on the sole. This will serve as the base to join the toe cap and heel.
- The toe cap has a total of 30sc, which we will join to the 30 central scs at the front of the sole with a round of sc on the inside of the shoe, picking up the sc from the last round of the toe cap and the sc from the base, which is on the sole. This will create a round of sc (30) that will be on the wrong side of the shoe.
- We will join the heel piece in the same way, but if you notice, we only have 32sc remaining free on the sole, and the heel piece has a base of 37 stitches. This means we will center this piece on the single crochets that are still free, and we will have 2 stitches left over on one side and 3 stitches on the other side of the heel piece, which we will leave unjoined so that they can overlap inside the toe cap piece. Therefore, we center the heel and join it in the same way (sc on the inside) to the sole of the shoe.
- Cut all excess yarn and, with a tapestry needle, sew those small edges of the heel that we left unjoined, inside the toe cap, so that they overlap with it. Weave in ends and done!
-
Repeat the entire process, part by part, to crochet the other shoe.
FINAL RESULT