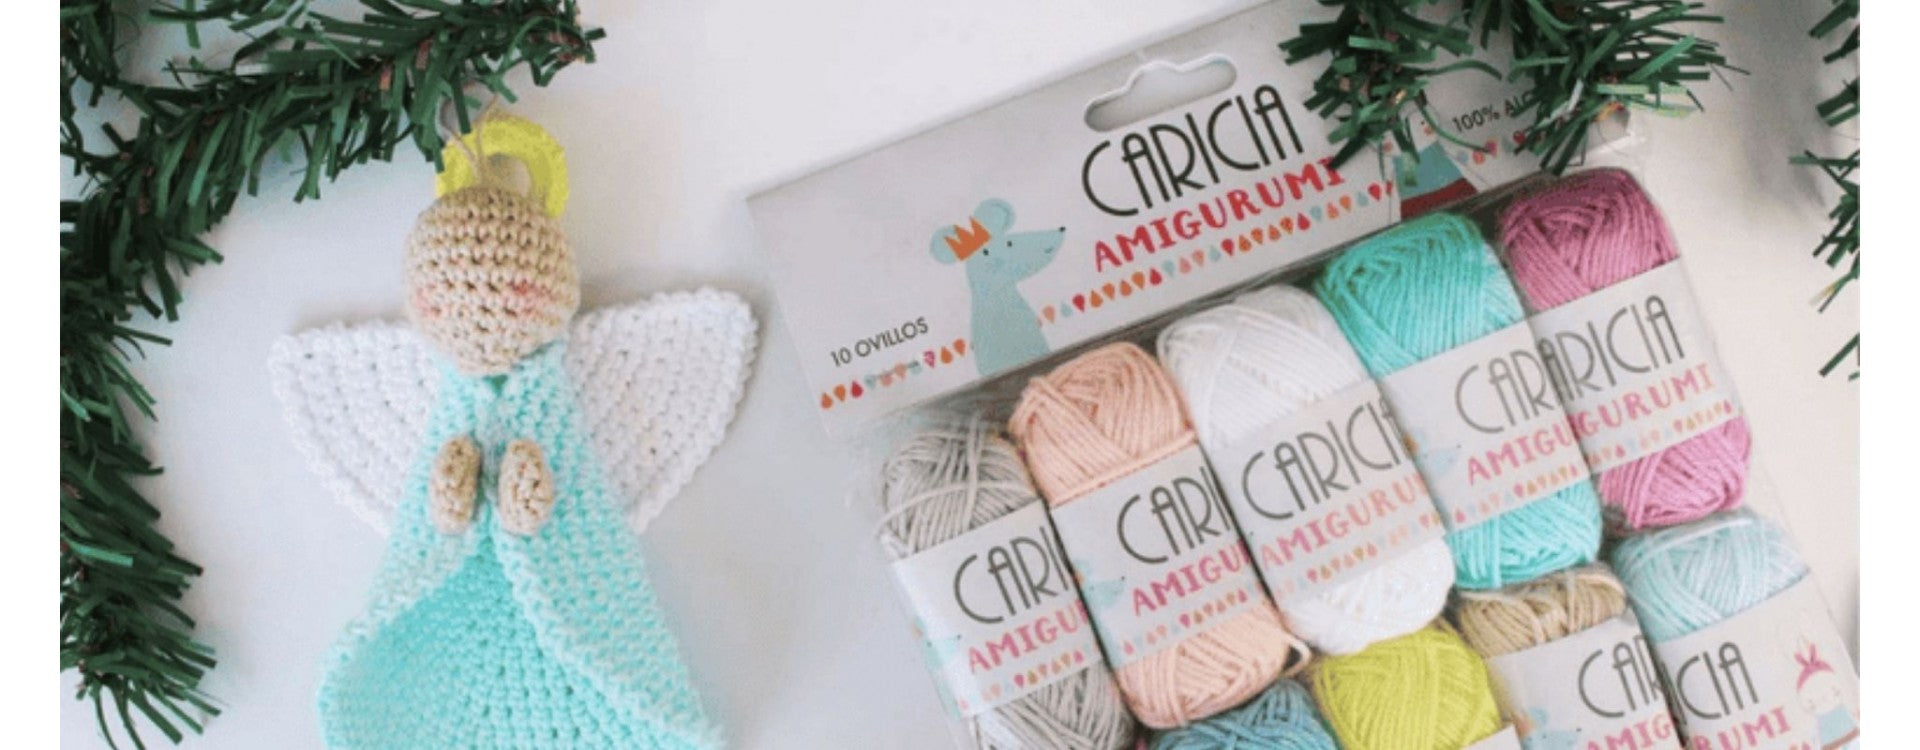
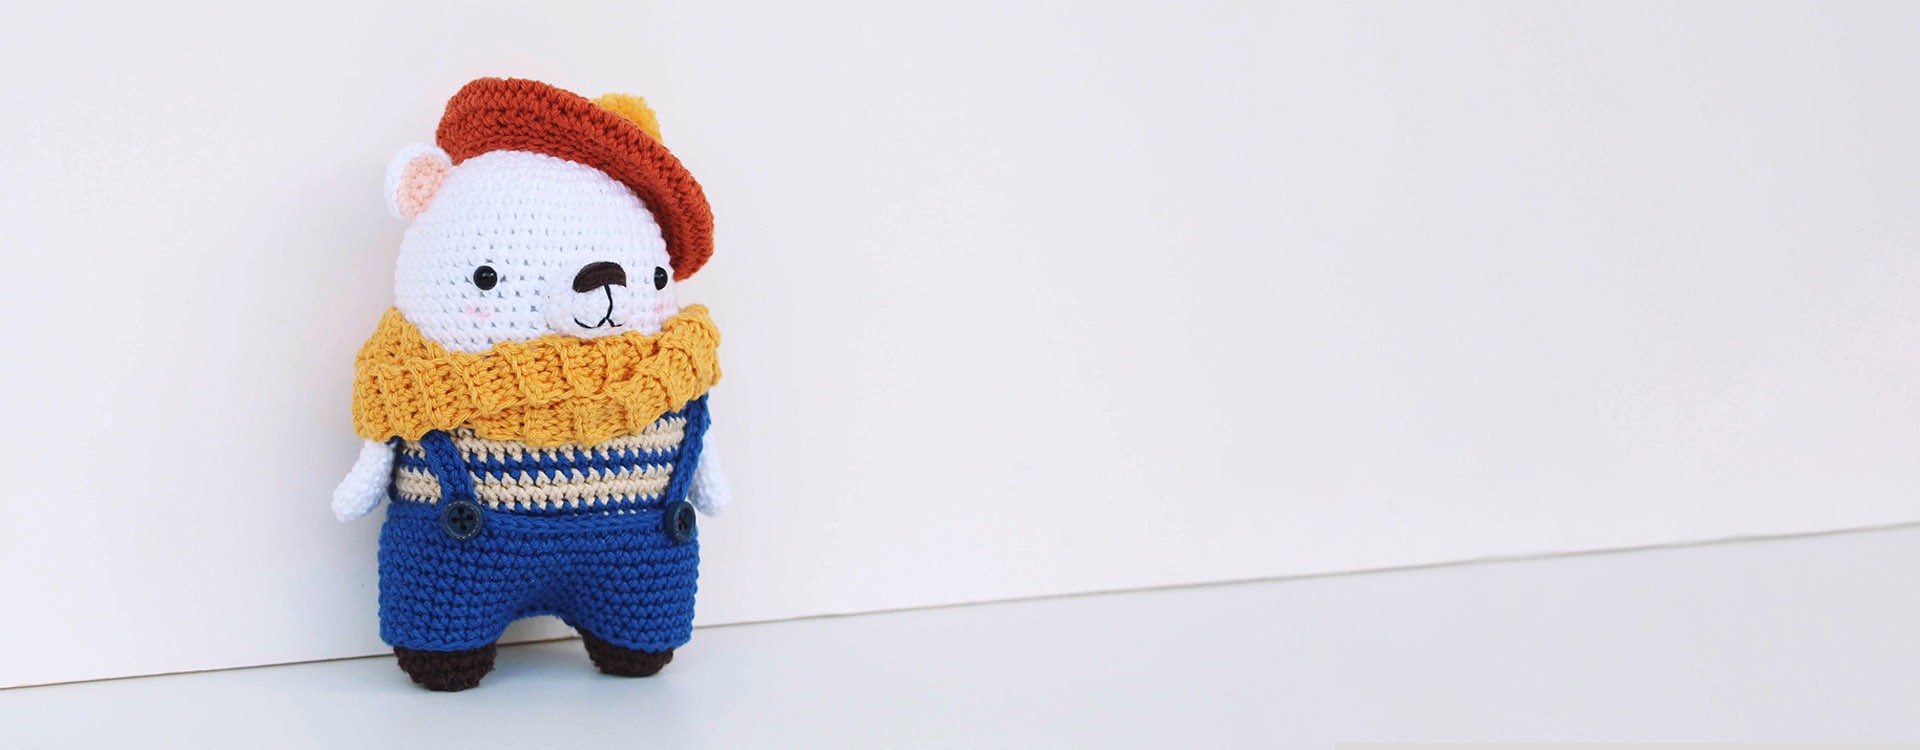
We present how to create an adorable amigurumi angel with this detailed pattern from Albita de Plata. This design is ideal for decorating your home with a Christmas amigurumi or surprising someone with a handmade gift for Christmas. An amigurumi angel is perfect for adding a warm and unique touch to any space. It uses accessible materials and crochet techniques, ideal for both beginners and experts.

Essential materials to create your amigurumi angel
Before you begin, make sure you have the following materials on hand to make your amigurumi angel:
Stitches used
For this amigurumi angel project, you will learn the basic stitches you need:
-
CH: Chain
-
SL ST: Slip stitch
-
SC: Single crochet
-
INC: Increase
-
DEC: Decrease
Amigurumi Angel Pattern Instructions
Prior clarifications for creating your Christmas amigurumi:
Head (cream color)
The head is the first part to be crocheted and defines the expression of your amigurumi angel. Follow these instructions to create it:
-
R1: Magic ring and 6 SC (6).
-
R2: 6 INC (12).
-
R3: 1 SC – 1 INC (18).
-
R4: 2 SC – 1 INC (24).
-
R5 to R8: SC in all stitches (24).
-
R9: 2 SC – 1 DEC (18).
-
R10: 1 SC – 1 DEC (12). Stuff before closing.
-
R11: 6 DEC (6). Fasten off and cut, leaving a long tail. Set aside.
Tip: If you want to give it a personalized touch, embroider the eyes or smile before joining it to the body of your amigurumi angel.
Hands (x2, cream color)
-
R1: Magic ring and 5 SC (5).
-
R2: 5 INC (10).
-
R3: SC in all stitches (10). Fasten off and cut, leaving a long tail. Set aside.
Trick: You can use flesh-colored yarn or a pastel shade for the hands of your amigurumi angel.
Wings (white color)
The wings are key to the design of your amigurumi angel. They are worked in a semicircle, turning at the end of each round.
This piece is worked by turning the work at the end of each row to form a semicircle.
-
R1: Magic ring and 3 SC (3).
-
R2: 3 INC (6).
-
R3: 1 SC – 1 INC (9).
-
R4: 2 SC – 1 INC (12).
-
R5: 3 SC – 1 INC (15).
-
Continue increasing until R11: 9 SC – 1 INC (33).
-
R12: Finish with 1 SL ST – 1 CH around the edge. Fasten off and cut, leaving a long tail. Set aside.
Suggestion: Use a sparkly yarn to make the wings of your amigurumi angel stand out.
Tunic (pink, blue, or gray)
-
R1: Magic ring and 6 SC (6).
-
R2: 6 INC (12).
-
R3: 1 SC – 1 INC (18).
-
Continue increasing until R12: 10 SC – 1 INC (72).
-
R13: Finish with 1 SL ST – 1 CH around the edge. Fasten off and cut, leaving a long tail. Set aside.
Tip: Use colors like white, blue, or gold to give it a celestial look.
Halo (yellow color)
-
R1: Magic ring and 28 SC (28).
-
Tighten the ring, fasten off and cut, leaving a long tail. Set aside.
Idea: Add a metallic gold thread to highlight the halo.
Assembly and finishing
-
Tunic and hands: Join the tunic circle of your amigurumi angel, folding it slightly to form the base. Sew the hands to the sides.
-
Head: Sew the head to the smaller opening of the tunic.
-
Wings: Attach the wings behind the head, right where the join ends.
-
Halo: Attach the halo to the back of the head.
-
Cord: Place a small cord or thread at the top of the head to hang your amigurumi angel.

Final tips for a better result
-
Stuffing: Make sure to distribute it evenly to avoid deformations.
-
Sparkly yarn: Use it for details like the halo or wings for a more festive finish.
-
Custom colors: Experiment with different combinations according to the desired style.
Frequently Asked Questions about amigurumi angels
How long does it take to complete an amigurumi angel?
Depending on your experience, you can finish it in 4 to 6 hours.
What yarn is best for amigurumis?
Cotton is ideal for its durability and soft texture.
Can I use this pattern to sell my creations?
Of course! This design is perfect for Christmas sales or craft fairs.

Enjoy creating this charming Christmas amigurumi angel! Creating an amigurumi angel is a craft activity that combines creativity, patience, and attention to detail. This guide pattern allows you to use accessible materials and simple crochet techniques to make a lovely design, ideal as a Christmas decoration or as a handmade gift.
Don't forget to follow us on Instagram to stay updated on all the news.


