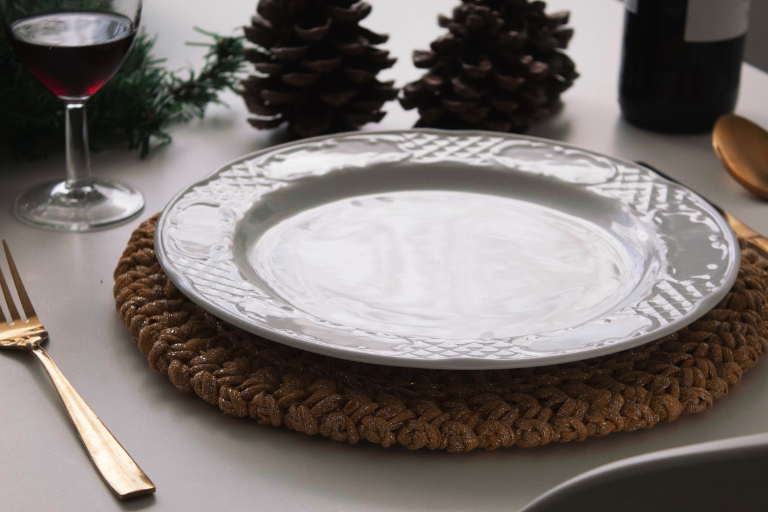
Christmas is a time for joy and creativity. Decorating with handmade pieces, like this Christmas placemat pattern, adds a touch of warmth and personalization to your home. This project is perfect for those looking for functional crafts that also serve as decorative elements.
Knitted pieces offer unique versatility in decoration, allowing you to customize colors and styles to suit your home. This circular placemat, with a 30 cm diameter and a star stitch border, is an excellent option for both beginners and experienced knitters who want a quick and eye-catching project.
Working with Caricia Cinta Brillo ensures a shiny finish that will enhance your table under the Christmas lights. Follow these detailed instructions to create a design that will not only be useful but also a key piece in your festive decor.
Materials
Selecting the correct materials guarantees the project's success. Below, we detail what you need and their benefits:
Fiber:
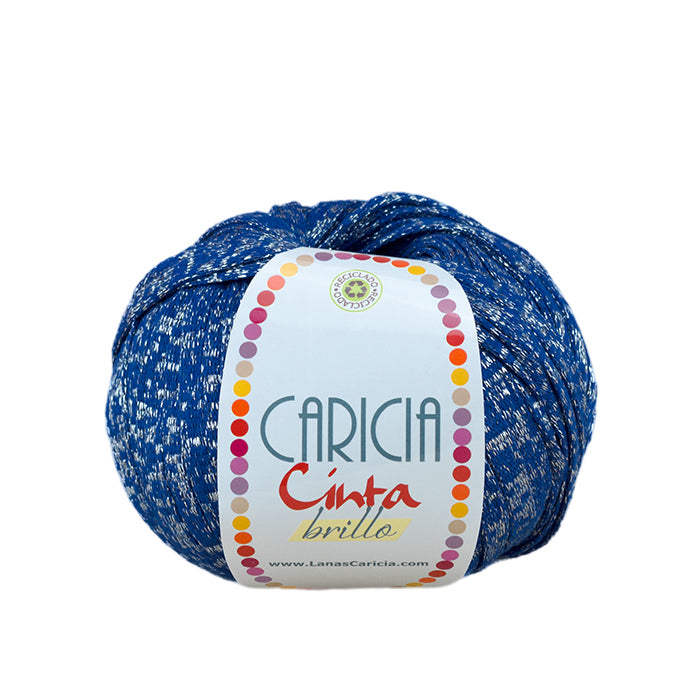
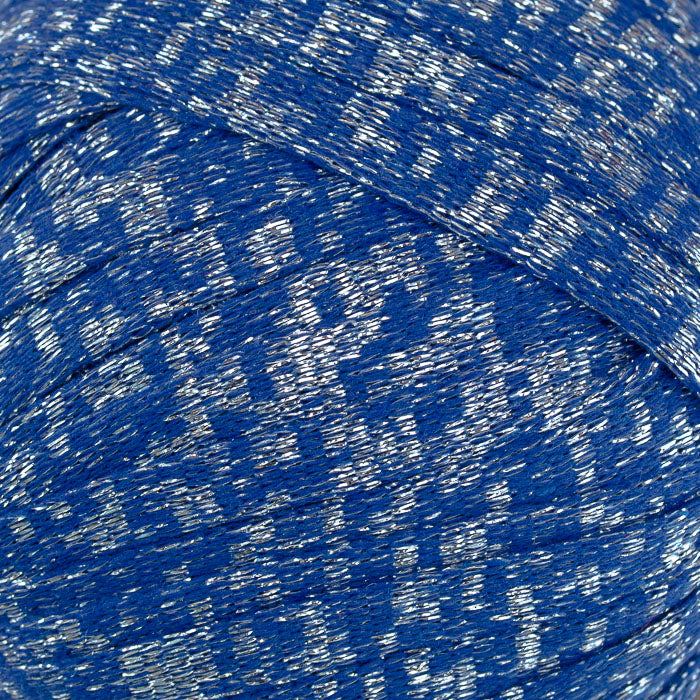
Use Caricia Cinta Brillo in colors 101 and 102. This yarn is ideal for its soft texture and shiny finish, which adds a festive touch. Two skeins are enough to complete one placemat.
Alternative: If you can't find this yarn, look for one of similar thickness with metallic or shiny details to maintain the project's festive aesthetic.
Hook:
You will need a 10 mm hook. This size is perfect for achieving the correct tension, ensuring the placemat lies flat and evenly.
Tip: If you plan to crochet several placemats, opt for an ergonomic hook. This will reduce hand fatigue during long crocheting sessions.
Additionally, have scissors, a tapestry needle for weaving in ends, and stitch markers on hand, which are especially useful for circular projects like this one.
Stitches Used
The Christmas placemat pattern is based on a combination of basic stitches that, when well-executed, create an attractive design:
-
Chain stitch (CH):
This is the base stitch of any crochet work. Ensure even tension to avoid irregularities in the placemat.
-
Slip stitch (SL ST):
Used to close rounds, this stitch is essential for maintaining a perfect circular structure.
-
Double crochet (DC):
This is the main stitch of the design. Its height allows for quick progress and adds texture to the placemat.
-
Increase (INC):
Consists of working two stitches in the same space to expand the diameter. It is key for the fabric to lie flat.
-
Star stitch (ST ST):
This decorative stitch is the star of the border. It adds a unique and sophisticated touch to the final design.
Tip: If you are a beginner, take a few minutes to practice these stitches before starting the main project. This will give you confidence and ensure a flawless result.

Step-by-Step Pattern
Clarifications:
-
Each round begins with three chains, which count as the first double crochet of the round, and ends by closing with a slip stitch in the third chain made at the beginning of that same round.
-
This pattern is designed for a 30 cm diameter placemat. If you wish to make it larger or smaller, simply modify the number of rounds before creating the final star stitch border.
Round 1: Magic Ring
Create a magic ring and crochet 12 double crochets into the circle. Tighten the ring to secure it. This step is essential for the design's stability. (Total: 12 stitches).
Tip: If the magic ring is too complicated, you can replace it with a four-chain closed circle. This method is simpler for beginners.
Round 2: Increases
Work two double crochets in each stitch from the previous round. This will double the number of stitches, ensuring even growth of the placemat. (Total: 24 stitches).
Tip: Check the yarn tension so that the fabric is neither too tight nor too loose, maintaining the uniformity of the design.
Round 3: Alternating Increases
Alternate one double crochet and one increase (which consists of working two double crochets in the same space) throughout the round. This will gradually increase the diameter of the placemat. (Total: 36 stitches).
Tip: Use stitch markers every 10 or 12 stitches to ensure the increases are evenly distributed.
Round 4: Progressive Increases
Alternate two double crochets and one increase throughout the round. This will continue the growth of the design while maintaining its circular shape. (Total: 48 stitches).
Tip: If you notice the fabric starting to ruffle, check that the increases are evenly spaced and adjust the yarn tension.
Round 5: Final Expansion Before Border
Alternate three double crochets and one increase throughout the round. This step is key to reaching the desired diameter. (Total: 60 stitches).
Tip: Measure the diameter of the placemat at the end of this round to ensure you are close to 30 cm before starting the decorative border.
Round 6: Star Stitch Border
The border is made using the star stitch, which consists of two parts: a beginning-of-round star stitch and a repeating star stitch.
-
The second chain from the hook and pull up a loop.
-
The third chain and pull up a loop.
-
The fourth chain and pull up a loop.
-
The stitch where you closed with a slip stitch and pull up a loop.
-
The next double crochet of the previous round and pull up a loop.
You will now have six unclosed loops on the hook.
Yarn over and pull through all loops at once.
Secure the stitch with a chain.
Tip: Practice this stitch on a swatch before applying it to the placemat to gain confidence.
Repeating Star Stitch:
-
Chain two.
-
Insert hook into:
-
The chain that closed the previous stitch and pull up a loop.
-
The center loop where all the loops of the previous star stitch were closed and pull up a loop.
-
The last loop of the previous star stitch and pull up a loop.
-
The double crochet of the previous round where the star stitch ends and pull up a loop.
-
The next double crochet of the previous round and pull up a loop.
You will again have six unclosed loops on the hook.
Yarn over and pull through all loops at once.
Secure the stitch with a chain.
Tip: Maintain even tension and use markers to help you identify the key stitches of each repetition.
Finishing the Border:
Complete the entire round with the repeating star stitches.
Close with a slip stitch in the first chain of the beginning of the round. Without cutting the yarn, work a round of slip stitches between rounds five and six for a clean and professional finish.

Frequently Asked Questions
Can I use a different yarn?
Of course! Choose one with similar characteristics to Caricia Cinta Brillo. Metallic or shiny yarns are ideal for maintaining the Christmas aesthetic.
How to prevent it from rippling?
Follow the increase pattern carefully. Regularly check that the yarn tension is consistent and that the increases are well-distributed.
What if I want a smaller placemat?
Skip one or two rounds of the main body before working the border. This will reduce the size while maintaining the design's proportion.
How do I make the star border uniform?
Work slowly and steadily, ensuring that each stitch has the same height and tension. Using stitch markers can be very helpful in maintaining regularity.
Congratulations! You have completed a beautiful Christmas placemat, perfect for adorning your table during the holidays. This project combines design, technique, and creativity, making each piece unique.
If you enjoyed this project, consider crocheting a complete set to give as a gift or experiment with different color combinations. Make this Christmas special with your handmade creations!


