


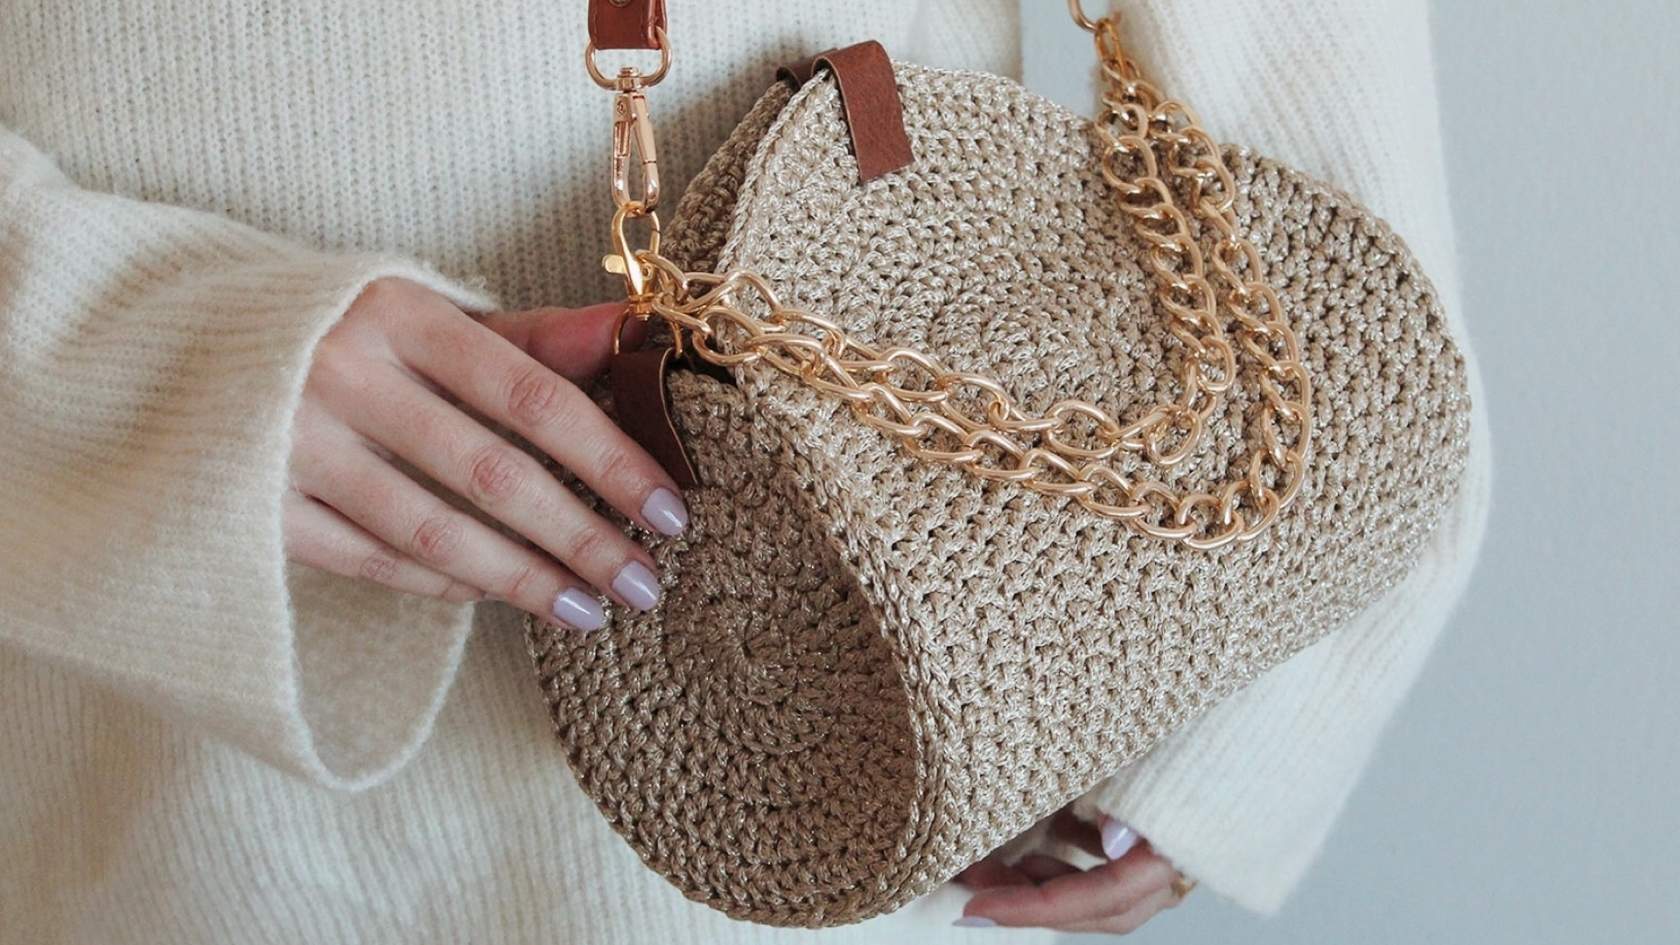
Today we bring you a crochet bag pattern designed by Albita de Plata, which is ideal for those looking for a unique accessory that adapts to their personal style. A cross-body bag, the "Centella bag," which is a perfect blend of style, simplicity, and functionality. With this detailed guide, each step will be clear and easy to follow, ensuring an impeccable result, regardless of your crochet experience level. With patience and attention to detail, your Centella bag will soon be a reality!
Materials needed: everything ready to start
Before starting your crochet bag pattern, it's important to make sure you have everything you need on hand. This facilitates the process and avoids interruptions, in addition to ensuring that the bag turns out perfect.
List of materials:
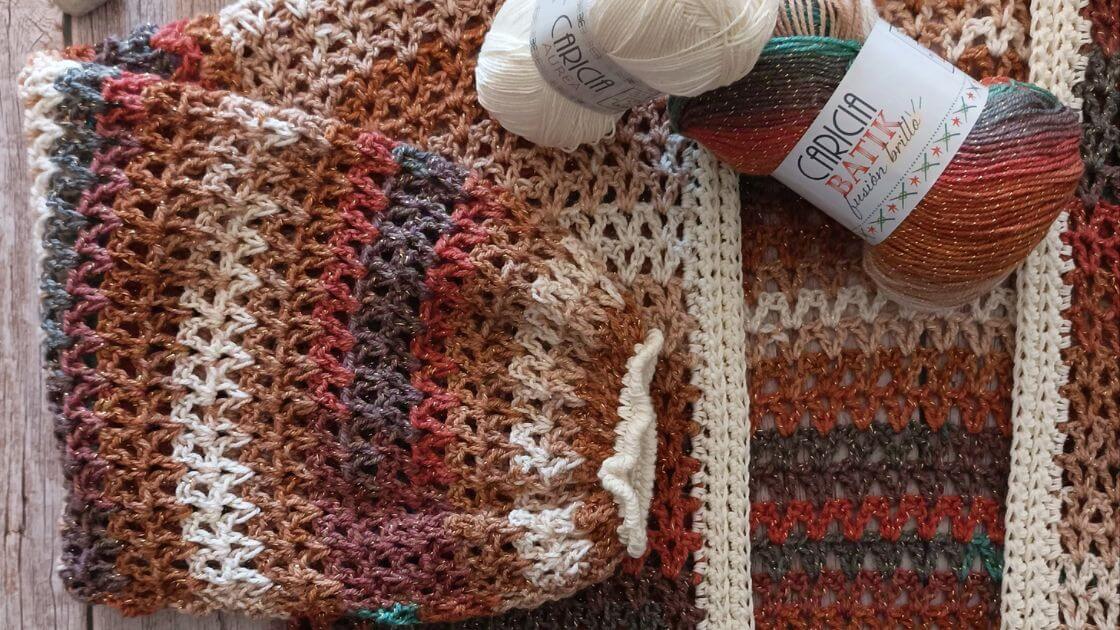
- Yarn: 2 skeins of Caricia Centella should be enough to complete this crochet bag pattern. Color 102 is a classic and bright option, but any shade will work.
- Crochet hook: size 4.5 mm, ideal for working with this yarn.
-
Accessories:
- Adjustable strap (leather, chain, or synthetic).
- Zipper that fits the bag's size well.
- Magnetic closures.
- Optional embellishments, such as decorative chains, tassels, or faux leather pieces.
-
Additional tools:
- Tapestry needle for joining pieces.
- Scissors for precise cuts.
- Strong thread to secure details.
- Mixture of white glue and water (50/50), if a stiffer bag is desired.
Tip: If you have leftover accessories or materials from other Lanas Caricia projects, such as chains or straps, this crochet bag pattern is an excellent opportunity to reuse them and give them new life.


Stitches used in your crochet bag pattern
This crochet bag pattern relies on basic stitches such as chain, single crochet, and double crochet, making it ideal for any experience level. Here are the stitches needed for this project:
- Chain (ch): the foundation stitch of any crochet fabric.
- Slip stitch (sl st): used to join pieces and create neat edges.
- Single crochet (sc): provides firmness and structure.
- Double crochet (dc): adds height and flexibility.
- Double crochet together (dc2tog): allows for decreasing stitches or shaping the fabric.
- Increase (inc): fundamental for expanding the fabric.
Suggestion: practicing these stitches on a small swatch before starting the full crochet bag pattern helps build confidence and ensures all stitches have the same tension.
Cross-body crochet bag pattern step-by-step
The bag is composed of five main pieces: the base, two sides, and two zipper flaps. By following this crochet bag pattern, you will work with five key pieces that will shape the final design. These parts are assembled at the end to form the design.
1. Bag base
The oval base provides stability to the design and defines the size of the bag.
- Starting chain: make 42 chain stitches (ch).
-
First round:
- Work 6 double crochet together (dc2tog) at each end of the chain.
- Complete the straight sides with 40 double crochet (dc).
- Close with a slip stitch (sl st).
-
Rounds 2 to 8: continue with increases at the ends following this scheme:
- Round 2: work 6 increases (inc) at each end and 40 dc on the sides.
- Round 3: (1 dc – 1 inc) repeated 6 times at each end, with 40 dc on the sides.
- Continue with the same pattern until completing 8 rounds and reaching a total of 176 stitches.
Tip: use stitch markers to identify the ends and ensure increases are correctly distributed.
2. Bag sides
The sides are circular and give volume to the bag.
- Start: begin with a magic ring and work 12 double crochet (dc) into it.
-
Subsequent rounds:
- Round 2: work 12 increases (inc), reaching a total of 24 stitches.
- Round 3: (1 dc – 1 inc) repeated until the end of the round, achieving 36 stitches.
- Round 4: (2 dc – 1 inc), totaling 48 stitches.
- Round 5: (3 dc – 1 inc), finishing with 60 stitches.
Leave a long tail to join the pieces later.
Suggestion: maintain the same tension in your work so that both sides are the same size and shape.
3. Zipper flaps
The flaps are rectangular and allow the zipper to be securely attached.
- Base chain: make 28 chain stitches (ch).
- Rows: work 5 rows of single crochet (sc), turning at the end of each row.
- Reinforcement: complete with a round of slip stitch (sl st) to reinforce the edges.
Note: this reinforcement facilitates zipper sewing and improves the final finish.

4. Bag assembly
This assembly step ensures that the final result of your crochet bag pattern is impeccable.
- Optional reinforcement: if greater stiffness is desired, apply a mixture of white glue and water (50/50) to the crocheted pieces and let them dry before assembling.
-
Joining the sides to the base:
- Sew the sides to the base with a tapestry needle.
- Ensure that each side covers 48 stitches of the base, leaving a 12-stitch opening at the top.
-
Attaching the zipper:
- Sew the flaps to the zipper and then integrate them into the body of the bag.
- Placing the accessories: adjust the strap, magnetic closures, and embellishments according to the desired style.
Tip: use pins to hold the pieces before sewing them, ensuring they are perfectly aligned.
Frequently Asked Questions
How long does it take to crochet this bag pattern?
It depends on your experience level. If this crochet bag pattern is your first project, it could take between 2 and 3 days, while someone with more practice could complete it in less than a day.
What to do if the crochet fabric is not uniform when following the pattern?
Practicing the stitches on a swatch helps improve tension. It's also important to work with the recommended hook size, 4.5 mm.
This crochet bag pattern is perfect for those looking to create a unique and functional accessory. Follow this step-by-step guide and make it a reality! If you find it useful and enjoyed it, share the result on social media. We'd love to see it!


