


Summer Bag with Caricia Jute
Albita de Plata brings us the trendy summer design with this versatile tote. Can you imagine the quality it's designed with? Exactly, our Caricia Yute, the perfect natural fiber for your handmade accessories.
If you're looking forward to showing it off this summer, keep reading and discover the pattern.
YOU WILL NEED:
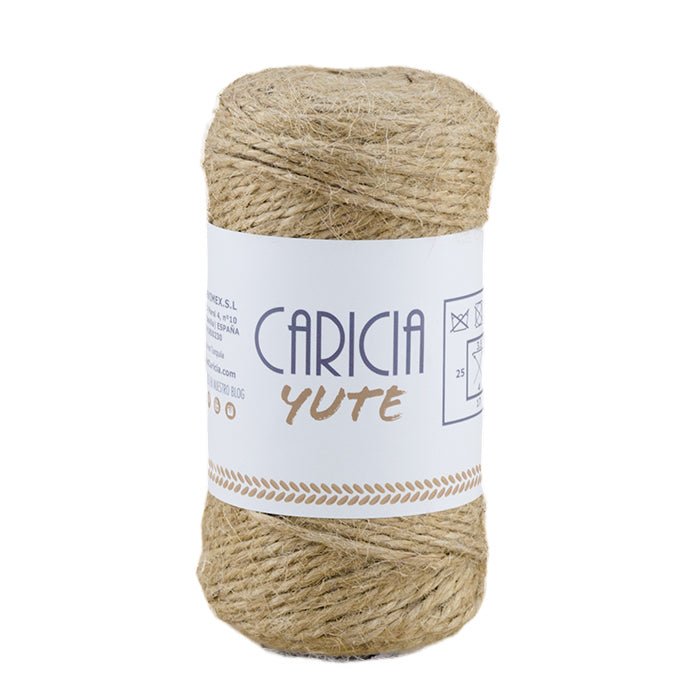
Yarn: Caricia Yute, color 002 (500gr)
4mm hook
Leather straps for handles
Glue and water for blocking

HOW TO CROCHET THE SUMMER BAG?
SUMMER EMBROIDERY
You can embroider the word "SUMMER!" or any word you prefer. Your name, your surname...
I used a tapestry needle and some strands of Yute col.012
The important thing is to center the word you are going to put well and choose one that is beautiful and special to you. You can draw it first with an erasable pen to make it easier.
ABBREVIATIONS
ch: chain
sc: single crochet
inc: increase
sl st: slip stitch
mesh st: mesh stitch
MEASUREMENTS
36cm width
27cm height
18cm depth
CLARIFICATIONS
- We will work the bag in a single piece, but in two different ways. On one hand, the base, which we will crochet in rows by turning the work at the end of each round and chaining 1 (which does not count as the 1st sc), and on the other hand, the body of the bag, which we will crochet in a spiral, without closing the rounds. In some rounds, we will cut the yarn and continue crocheting further along in the same round. The pattern provides step-by-step instructions for this.
- We will call the wide sides "Front" and the narrow sides "Side".
- Mesh stitch: we crochet it on the front panels and it consists of *1ch - 1dc* - (Repeat from * to * as many times as stitches you need to make) - 1ch.
- If you decide to block it (I explain how at the end of the pattern), the best way to clean it is with a damp cloth, so as not to damage the blocking.
PATTERN
BASE:
Chain 45.
1. 45sc
2 - 23. 45sc
24. Edging round: one sc in each sc, making 3sc in each corner stitch. Total: 140sc
25. All sl st (140). Do not cut yarn.
BODY:
1. All sc into the back loop of the sc from R24 of the base.
2 - 4. All sc (140)
5. Take the first front panel you find as you finish R4 and count its stitches from corner to corner. Use an odd number as a reference, in this case it will be 45 centered stitches on the front panel. Do the following: 5sc - 35mesh st - 5sc. Crochet the side panel in sc, do the same on the second front panel (5sc - 35mesh st - 5sc) and crochet the last side panel in sc.
6. Continue crocheting the beginning of the front panel, but only do the 5sc before the mesh stitch. Close with a sl st in the 1st ch of the mesh st and cut yarn. Reattach the yarn with a sc directly above the 1st sc after the 35mesh st of the previous round. Crochet those 5sc and continue with sc on the side panel. Do the same on the second front panel (5sc - cut yarn and skip the 35mesh st - join yarn and make 5sc). Crochet the second side panel in sc.
7. Repeat R5:
- Front: 5sc - 35mesh st - 5sc
- Side: all sc
- Front: 5sc - 35mesh st - 5sc
- Side: all sc
8. Repeat R6:
- Front: 5sc - cut yarn - skip the 35mesh st - join yarn - 5sc
- Side: all sc
- Front: 5sc - cut yarn - skip the 35mesh st - join yarn - 5sc
- Side: all sc
9 - 16. Repeat rounds 7 and 8
17 - 29. All sc
30 - 35. Repeat rounds 7 and 8
36 - 39. All sc
40. All sl st (140)
We are going to crochet 4 vertical rows of sc in the 4 corners of the bag to give it shape. We crochet right where the 4 vertices naturally fall. We do it in such a way that the wrong side of that sc row faces the front panels. That is, in some rows you will have to join the yarn at the top to start crocheting it, and in others, at the bottom. Always cut the yarn when you finish each row.
Fasten off and weave in all ends of the bag body.
*If you decide to block it, this is the moment, before attaching the handles for more convenience. At the end of the pattern, you have the step-by-step blocking instructions.
HANDLES:
We will need 4 leather strips of 90cm (two for each main handle) and 2 strips of 50cm for braiding.
Braid one short strip with a simple knot over the middle of two long strips to join them, and then insert them with a hangman's knot into the sides of the front panel. Repeat this process on the other front panel.
As a special detail, I've put a small piece of yellow heat-shrink tubing on the end of each handle strand.
These handles are optional; we can use any handles we like.
BLOCKING
This step is optional, as jute has a lot of body when crocheted with a 4mm hook, but blocking gives it a perfect shape.
- We make a cardboard base the same size as the body of the bag and cover it with clear plastic wrap.
- Make a mixture of 50% water and 50% clear drying white glue.
- Place the body of the bag on the cardboard base and soak it well using a brush with the glue and water mixture.
- Let it dry for 12 hours and it's ready.
FINAL RESULT


.png)


