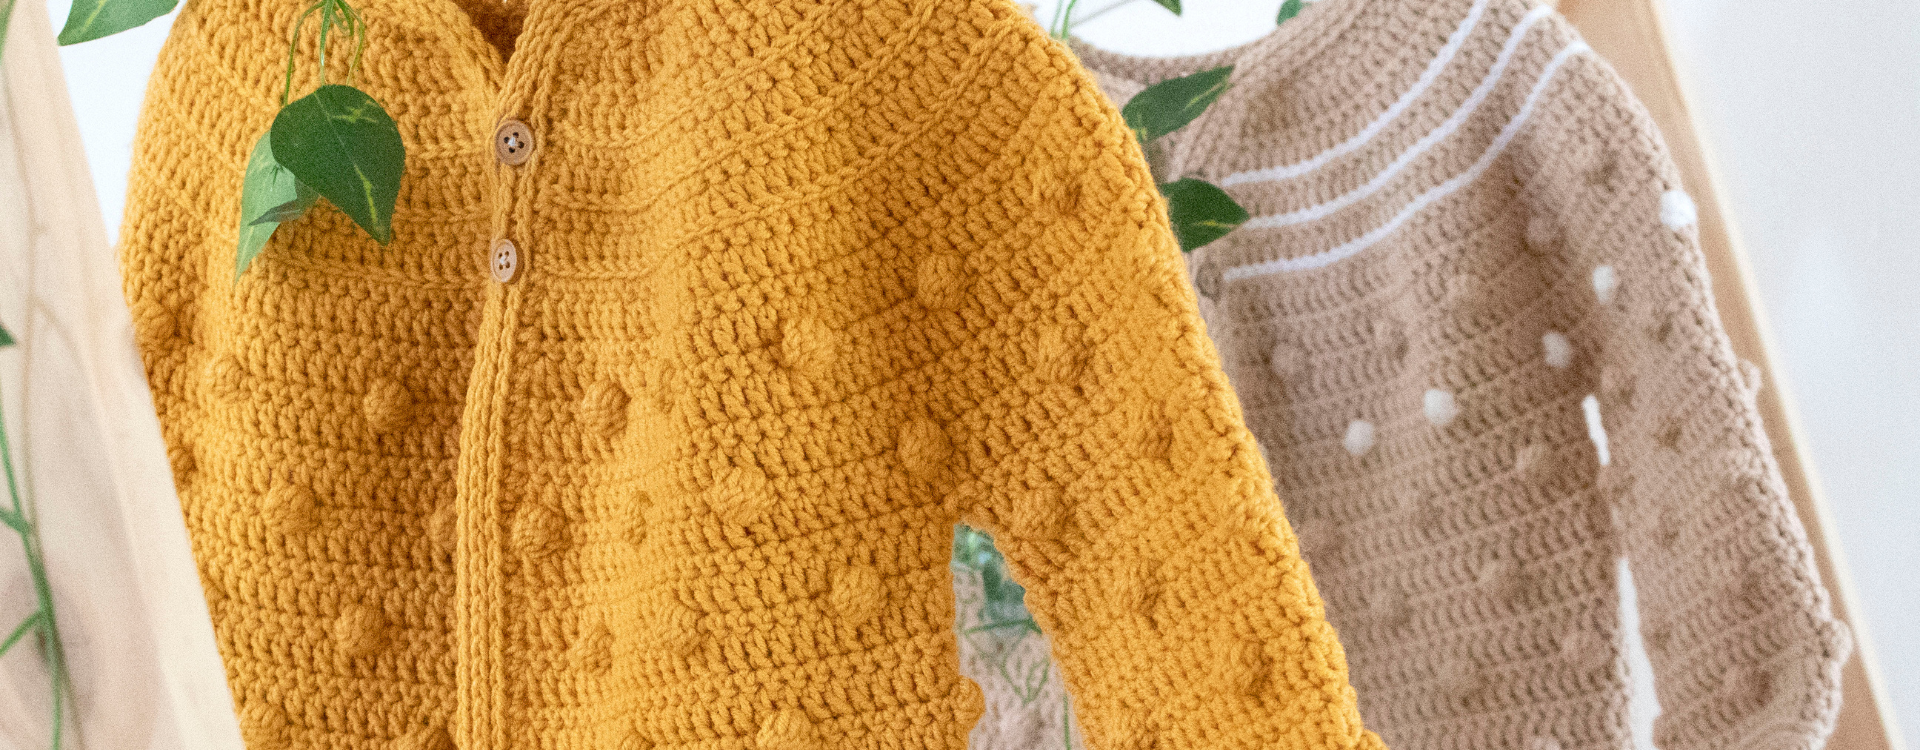
Albita de Plata surprises us again, this time with the Valeria jacket, a true darling that she suggests we knit in two color versions so we can choose the one we like best. For it, she used Caricia Nana, a 100% acrylic quality that we introduced very recently and that is great for knitting clothes for the little ones in the house. Do you dare to knit it?
YOU WILL NEED
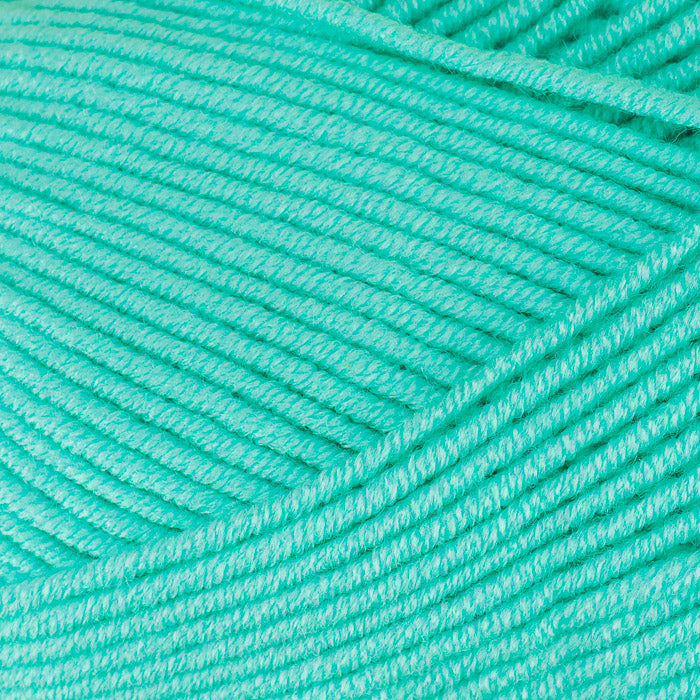
Caricia Nana
- - Model 1 color 013 (3 balls)
- - Model 2 color 011 (3 balls) and color 001 (1 ball)
Needles: 3.5mm (for the jacket itself) and 3mm (for the edges)
HOW TO MAKE THE VALERIA JACKET?
Stitches used
ch: chain
sl st: slip stitch
sc: single crochet
sc3: single crochet in the 3rd strand
hdc: half double crochet
hdc3: half double crochet in the 3rd strand
bobble: bobble stitch
dc: double crochet
inc: increase
dec: decrease
Clarifications
- We will work the jacket from top to bottom, that is, with a yoke. Starting from the neck downwards.
- We will work the body in rows, always lifting one chain (if the row is sc or hdc) or two (if it is dc) at the beginning of each row (which will not count as a stitch) and turning the work.
- SC3 and HDC3: these are single crochet or half double crochet stitches, worked normally, but inserting the hook exactly into the strand behind the stitch. If above the stitch we have the normal two-strand spike, if we look just behind the outer strand we see another identical strand, that's where we will insert the hook.
- Bobble: the bobble stitch will be made by closing 4 double crochet stitches together. Remember that it is worked on the wrong side, that is, the bobble pops out to the other side.
- This jacket has no seams, everything will be crocheted.
- The size is 18/24 months, but by increasing or decreasing the length of the yoke, and therefore the length and sleeves, we can adapt it to any size. At the end of the pattern, I'll give you some tips on how to do it.
- Measurements: width (armpit to armpit) 30cm. Total length 32cm. Sleeve length (from shoulder) 26cm. Sleeve width 10cm.
Pattern
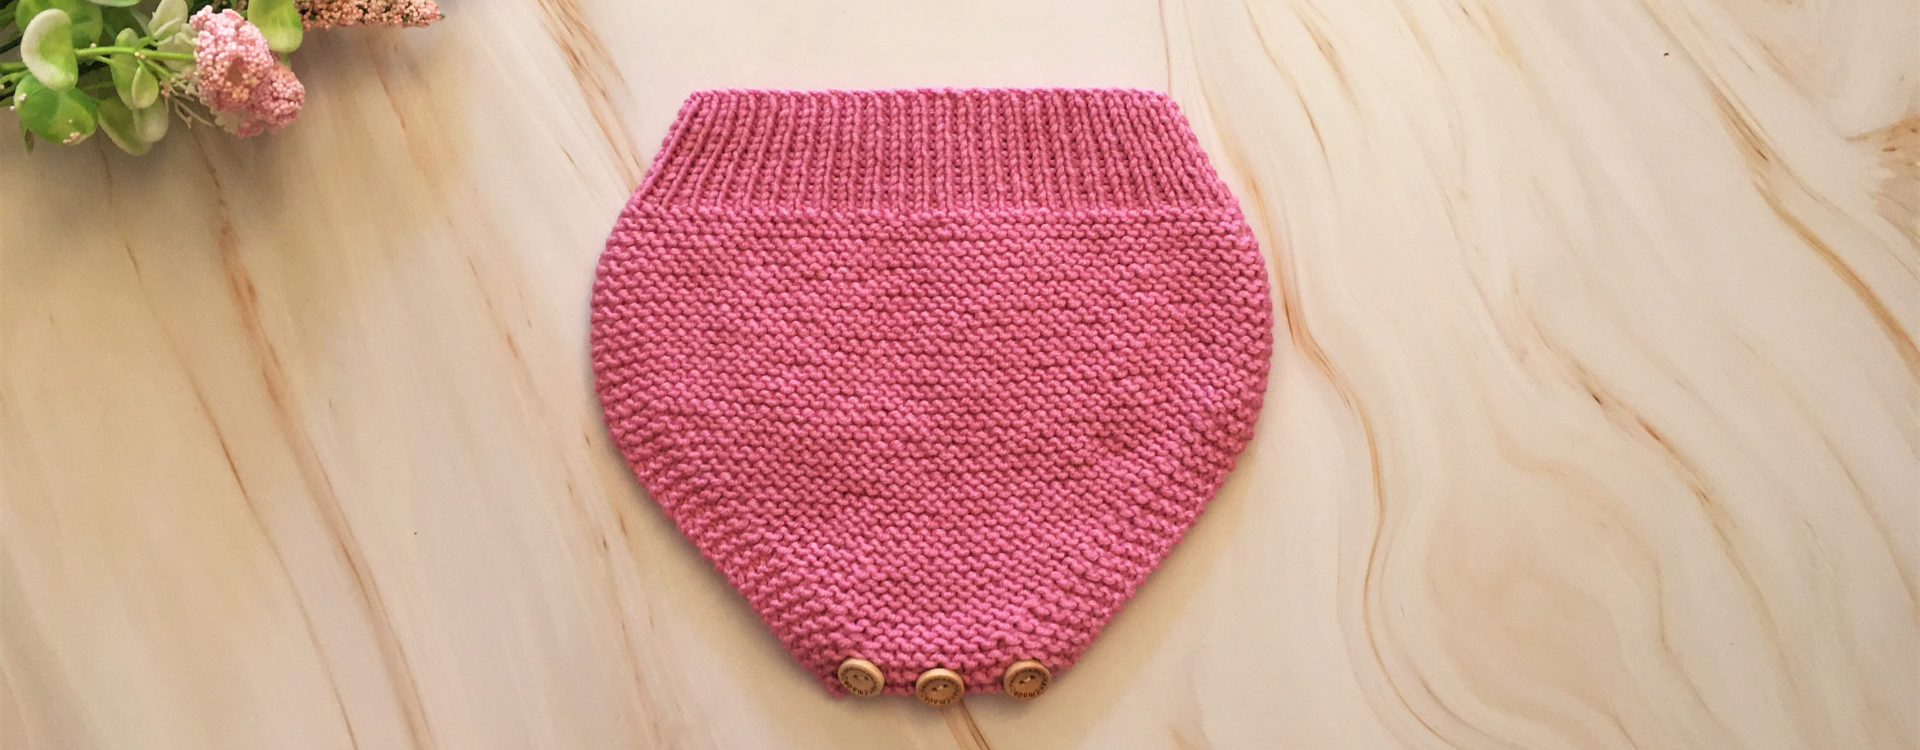
BODY (3.5mm needle)
To begin, we will make 60ch
1. All sc (60 st)
2. *2dc - 1inc* Repeat from * to * until the end of the row. (80 st)
3. All sc (80 st)
4. *1inc - 3 dc* Repeat from * to * until the end of the row. (100 st)
5. All sc (100 st)
6. *4dc - 1inc* Repeat from * to * until the end of the row. (120 st)
7. All sc (120 st)
8. *1inc - 5dc* Repeat from * to * until the end of the row. (140 st)
9. All sc (140 st)
10. *6dc - 1inc* Repeat from * to * until the end of the row. (160 st)
11. All sc (160 st)
12. *1inc - 19dc* Repeat from * to * until the end of the row. (168 st)
13. 2sc - *1bobble - 7sc* (Repeat) - 1bobble - 5sc. (168 st)
14. All dc (168 st)
15. All sc (168 st)
16. All dc (168 st)
17. 6sc - *1bobble - 7sc* (Repeat) - 1bobble - 1sc. (168 st)
18. All dc (168 st)
Now it's time to divide the yoke to make the armholes and knit the back and front panels.
19. 26sc (front) - skip 32 st (armhole) - 52sc (back) - skip 32 st (armhole) - 26sc (front). (104 st in total)
20. All dc (104 st)
21. 2sc - *1bobble - 7sc* (Repeat) - 1bobble - 5sc. (104 st)
22. All dc (104 st)
23. All sc (104 st)
24. All dc (104 st)
25. 6sc - *1bobble - 7sc* (Repeat) - 1bobble - 1sc. (104 st)
26. All dc (104 st)
27. All sc (104 st)
28. All dc (104 st)
29. 2sc - *1bobble - 7sc* (Repeat) - 1bobble - 5sc. (104 st)
30. All dc (104 st)
31. All sc (104 st)
32. All dc (104 st)
33. 6sc - *1bobble - 7sc* (Repeat) - 1bobble - 1sc. (104 st)
34. All dc (104 st)
35. All sc (104 st)
36. All dc (104 st)
37. 2sc - *1bobble - 7sc* (Repeat) - 1bobble - 5sc. (104 st)
38. All dc (104 st)
39. All sc (104 st)
Now we are going to make the bottom hem, the neck, and the front panels. We will do this without cutting the yarn, continuing to knit from where we are and making 3 right-side rows, closing each one with a slip stitch and raising one chain (ch) at the beginning of the next. (3mm needle)
40. All hdc, making this series of decreases in the bottom and neck section (4hdc - 1dec). We will make the front panels in hdc without decreasing.
41. (In this round we will make the buttonholes) All hdc3, skipping 1 stitch and making a ch over row 5 and row 9 of the yoke (on the right side if we look at the jacket from the front)
42. All sc3
Fasten off with a slip stitch and cut the yarn.
It is optional to make a 3-row slip stitch trim between rows 4 - 5, 6 - 7 and 8 - 9.
SLEEVES (3.5mm needle)
To continue with the same dynamic as in the body, instead of working the rounds in a spiral, we will make one right side and one wrong side, starting on the wrong side in the first round. Each round is closed with a slip stitch, one chain (if it is sc) or two (if it is dc) is raised, and the work is turned. Join the yarn in either of the two sleeves at the armpit and begin with the following series of rounds. Remember, the first round is wrong side, the next is right side... and so on until the end.
1. All sc (32 st)
2. All dc (32 st)
3. * 1bobble - 7sc * (Repeat until the end of the round) (32 st)
4. All dc (32 st)
5. All sc (32 st)
6. All dc (32 st)
7. * 1bobble - 7sc * (Repeat until the end of the round, making sure the bobbles are staggered in the middle of the bobbles from the previous round, row 17 of the yoke, of bobble stitches). (32 st)
8. All dc (32 st)
9. All sc (32 st)
10. All dc (32 st)
11. * 1bobble - 7sc * (Repeat until the end of the round, staggering the bobbles with the previous round of bobble stitches). (32 st)
12. All dc (32 st)
13. All sc (32 st)
14. All dc (32 st)
15. * 1bobble - 7sc * (Repeat until the end of the round, staggering the bobbles with the previous round of bobble stitches). (32 st)
16. All dc (32 st)
17. All sc (32 st)
18. All dc (32 st)
19. * 1bobble - 7sc * (Repeat until the end of the round, staggering the bobbles with the previous round of bobble stitches). (32 st)
20. All dc (32 st)
21. All sc (32 st)
Now we are going to make the edge, which, like the neck and front edges, we will do without cutting the yarn. We will continue knitting from where we are and make 3 right-side rows, closing each one with a slip stitch and raising one chain (ch) at the beginning of the next. (3mm needle)
22. * 2hdc - 1dec * (Repeat) (24 st)
23. All hdc3 (24 st)
24. All sc3 (24 st)
And now the jacket is finished! Remember to read it patiently, as many times as you need to internalize first the structure of the pattern and of the garment itself. Once you are clear about the steps to follow and the pieces you are going to form, get to work. And above all, always adapt it to yourself and your model. To make different sizes, gradually increase or decrease the length of the yoke until it closes at the armpit of the person you are making it for, then divide the total number of stitches in your yoke by 6 (approx) and that will give you the sleeve space (x2), front panels (x2) and back that you will need to leave. Measure your model and adapt the length of the jacket and sleeves. It's very simple, once you start, you won't have any problems. Get to work!
FINAL RESULT


